
This is part four of a series of blog posts on Planning the Art. We will be posting parts 5 – 6 in the coming weeks, so be sure to keep coming back. We’ll discuss in great detail some of the topics highlighted in the first week’s post. If you want to go back and read from the beginning, start here.
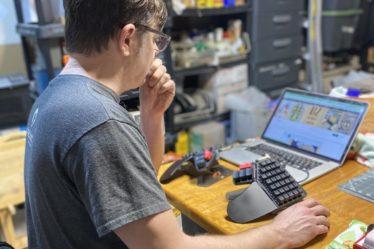
One of the misconceptions of pyrography is that you need to be able to freehand your art when you create your burn. Although many pyrographers are successful with this type of approach many, including myself, like to have a pattern to work off of so we can make sure we get it right the first time. This medium is highly unforgiving of mistakes and planning out the piece beforehand on the computer before transferring the pattern to the wood and burning is hugely important to me.
Prepping the Pattern
In part three of this series we talked about creating the pattern. In this part we take a look at how to get the pattern to fit the piece you are going to be burning on. You want to make sure that the pattern is going to fit nicely on your wood so that it doesn’t get lost on the canvas or go outside the edges of the wood.
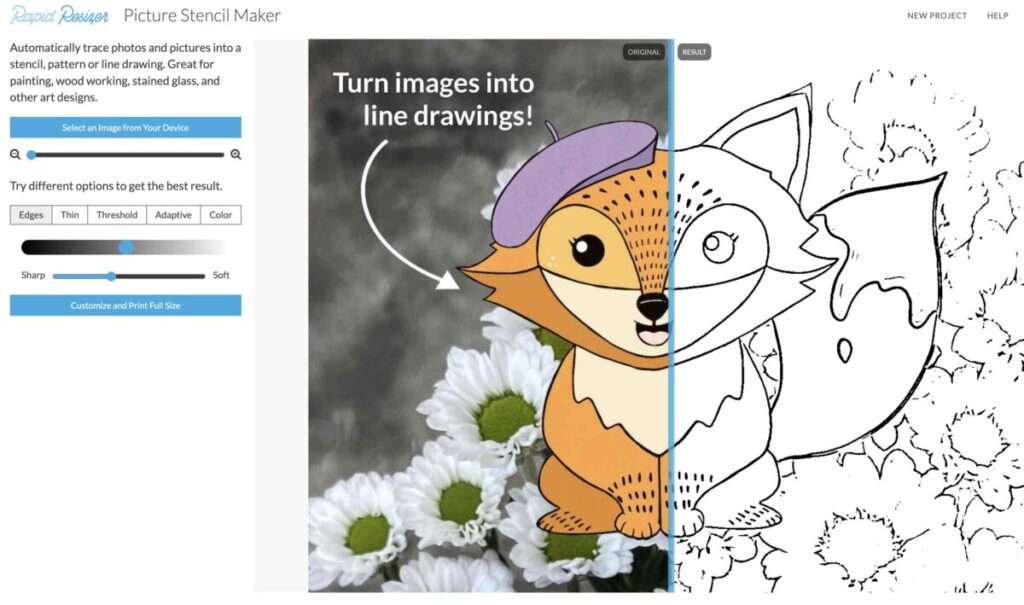
To get the pattern the right size I use a tool called Rapid Resizer (https://www.rapidresizer.com/). I use the pro version of Rapid Resizer. They have a free version but it is limited. The features I will be discussing are specific to the pro version.
Step 1: Importing the file
Import the pattern into RapidResizer from where you saved the file.
Pro tips:
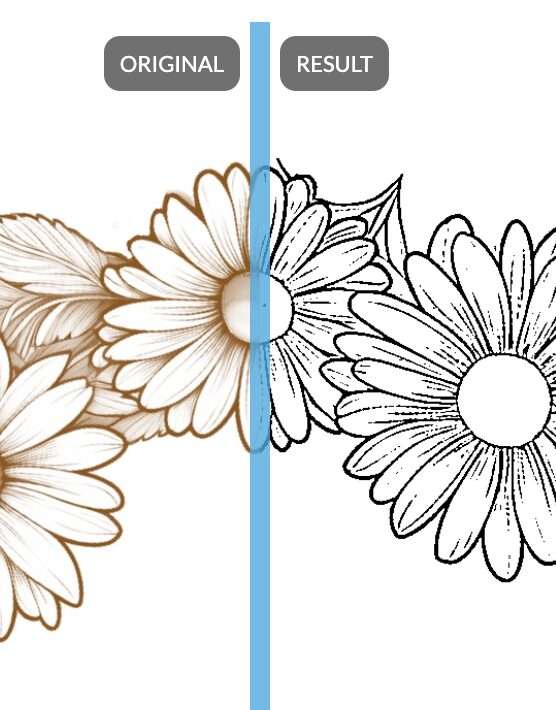
- Rapid Resizer will auto-select the level of detail of the pattern. Make sure to check that it is the level that you would like before continuing to the next step. You cannot change the level of detail after this step.
- You can use the slider to select a softer (less detailed) or sharper (more detailed) pattern. Experiment with the levels of detail until you are happy with the pattern. If you can’t get it perfect always go with more detail because, in step 3, you’ll be able to clean up and fine-tune some of the lines.
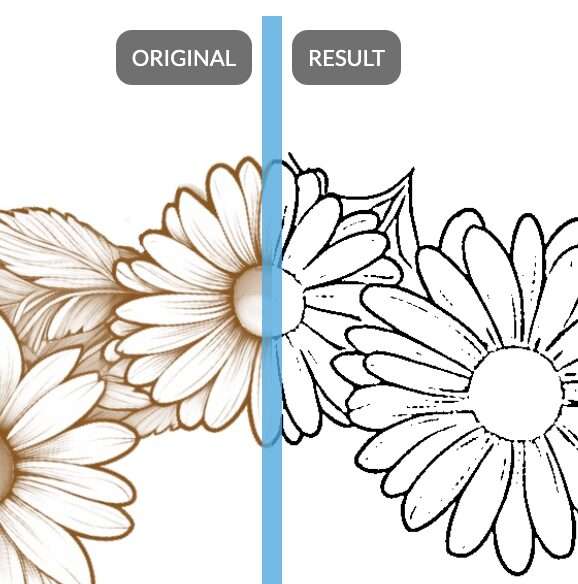
Once you are happy with the base pattern click “Customize and Print Pattern”.
Step 2: Resizing the File
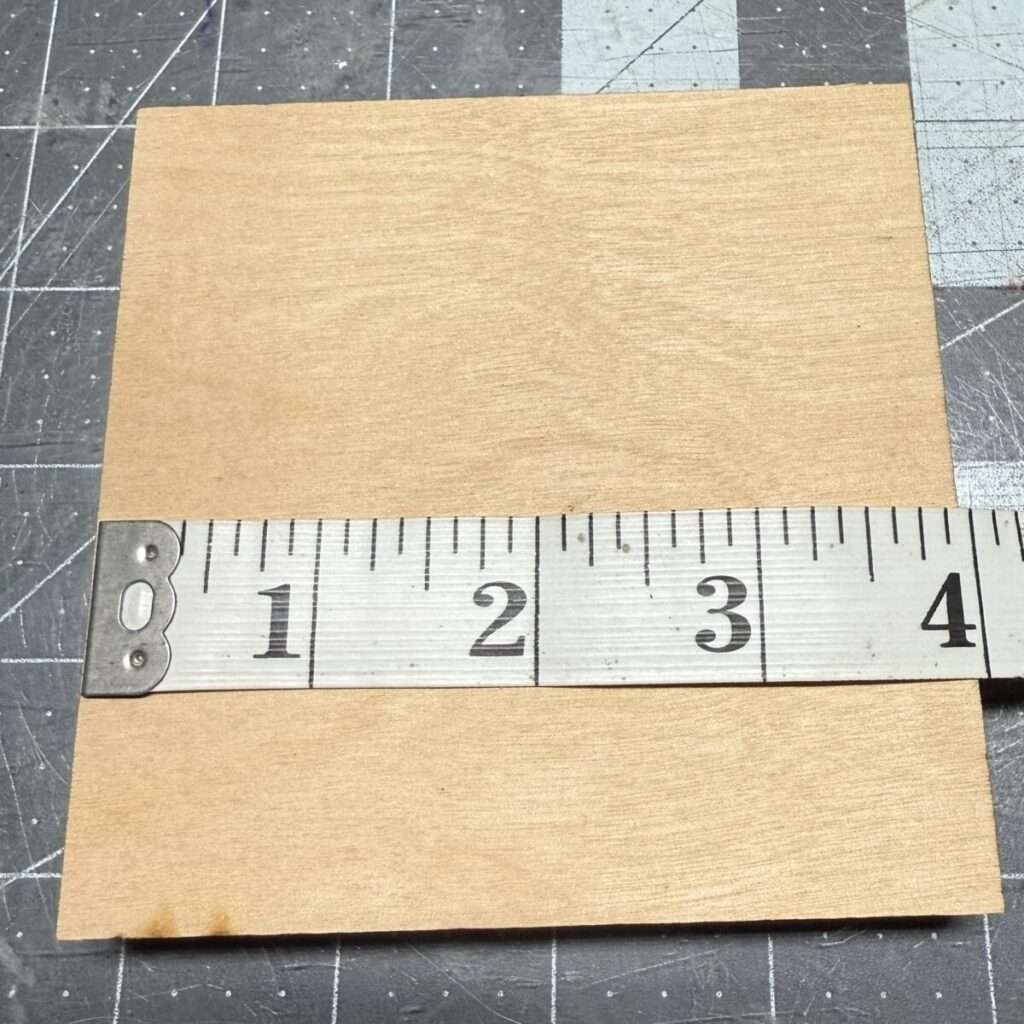
If you remember in part 2 of this series I suggested taking the measurements of the canvas. This is where those measurements come in handy. On the left-hand side you will see a pane like the one below.
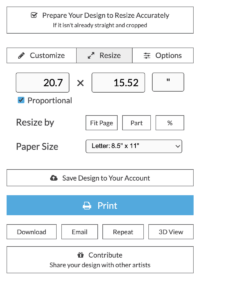
Click on the customize button.
From here you can crop your pattern. This will remove any whitespace around your pattern. Doing so will ensure that when you are ready to print the measurements will be representative of your pattern and not any margins.


Step 3: Fine Tune and Clean Up
Here is where you have an opportunity to clean up any superfluous details that you didn’t remove in step 1. If you are happy with the pattern and don’t require any cleanup, skip to step 4.
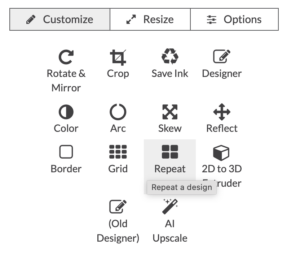
To fine-tune the pattern further click on the customize menu > designer

Here you can further erase, add text (rapid resize has limited fonts), add shapes, and do other simple edits. I typically use Designer to remove any artificats left behind from the import process.
You can also add previous designs you’ve saved to your account. I will often use this if I want to print multiple patterns at once. This is, however, beyond the scope of this post and maybe the subject of a future post.
Once you are happy with the pattern click print. This will take you back to the previous menu.
Step 4: Mirroring the Pattern
Since you are heat transferring the pattern onto the wood, you need to mirror the pattern. This works similar to the old iron on transfer you put on tee shirts.
Click on Customize menu > Rotate and Mirror > Mirror


Hit Apply.
Step 5: Save your work
Remember to save the pattern. You can save it to the website, but only if you have a pro subscription. I like to save my patterns both on their site as well as on my own cloud storage. This is critical in the event of your computer crashing, you lose power, or your shop cat decides to walk across your keyboard.
Step 6: Print
Once the pattern is ready I’ll print it on a laser printer.
Pro Tips:
- In the Options Menu:
- “Number Pages: column, row” will print the row and column number of each page so that you know how to arrange them after they print out. This can be useful for arranging pages on a very large piece. I typically disable this as I find it gets in the way of the pattern.
- “Page Orientation: save paper/horizontal/vertical” You can choose to orient the pages horizontally (left to right), vertically (up and down), or you can select save paper which will let Rapid Resizer choose the best orientation to use the minimum amount of paper.
- “Page Border: Outline the area to trim” This is very helpful for knowing where to trim the excess after printing.

Step 7: Print
Print the transfer. Trim off extra paper.
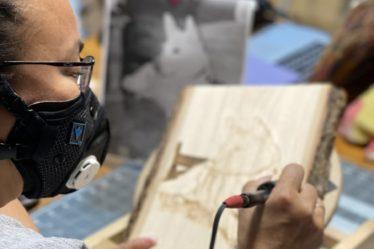
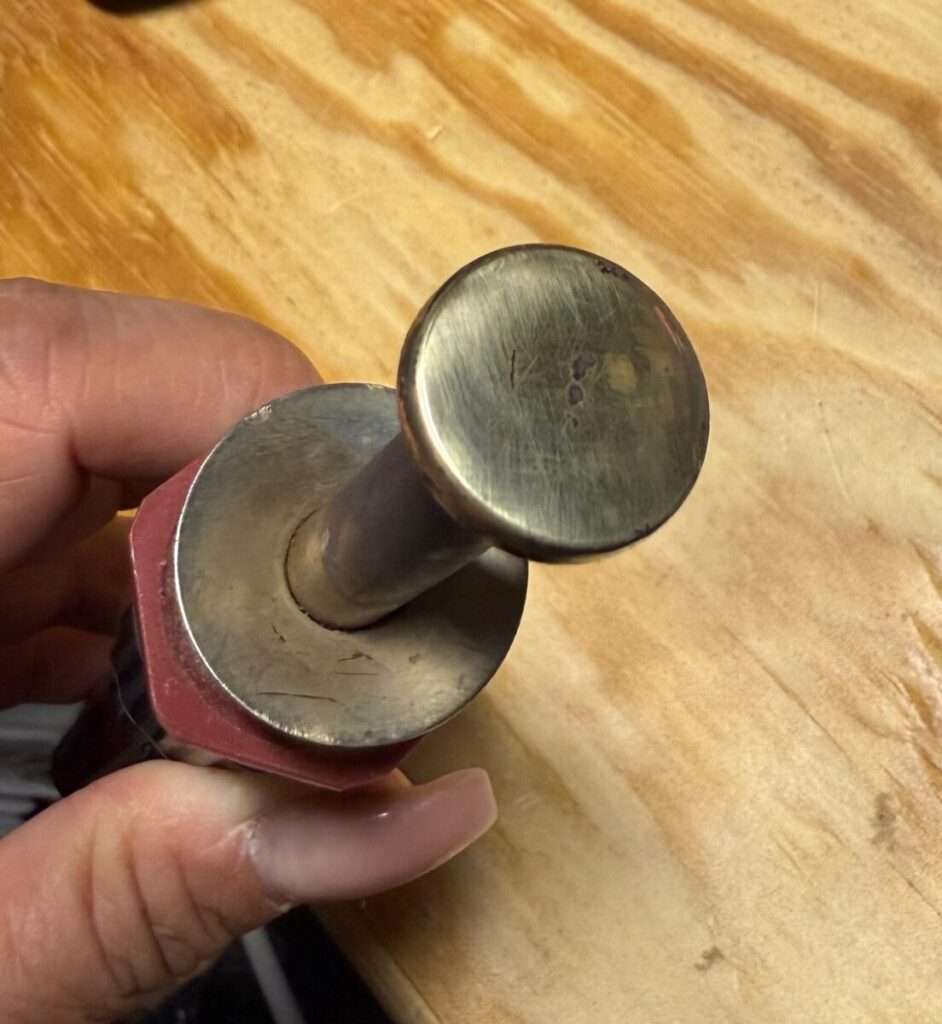
Step 8: Heat Transfer
I use a Walnut Hallow versa tool with a heat transfer tip to transfer the image from the paper to the wood.
Protip: use a seamstress tape measure to find the center of your pattern
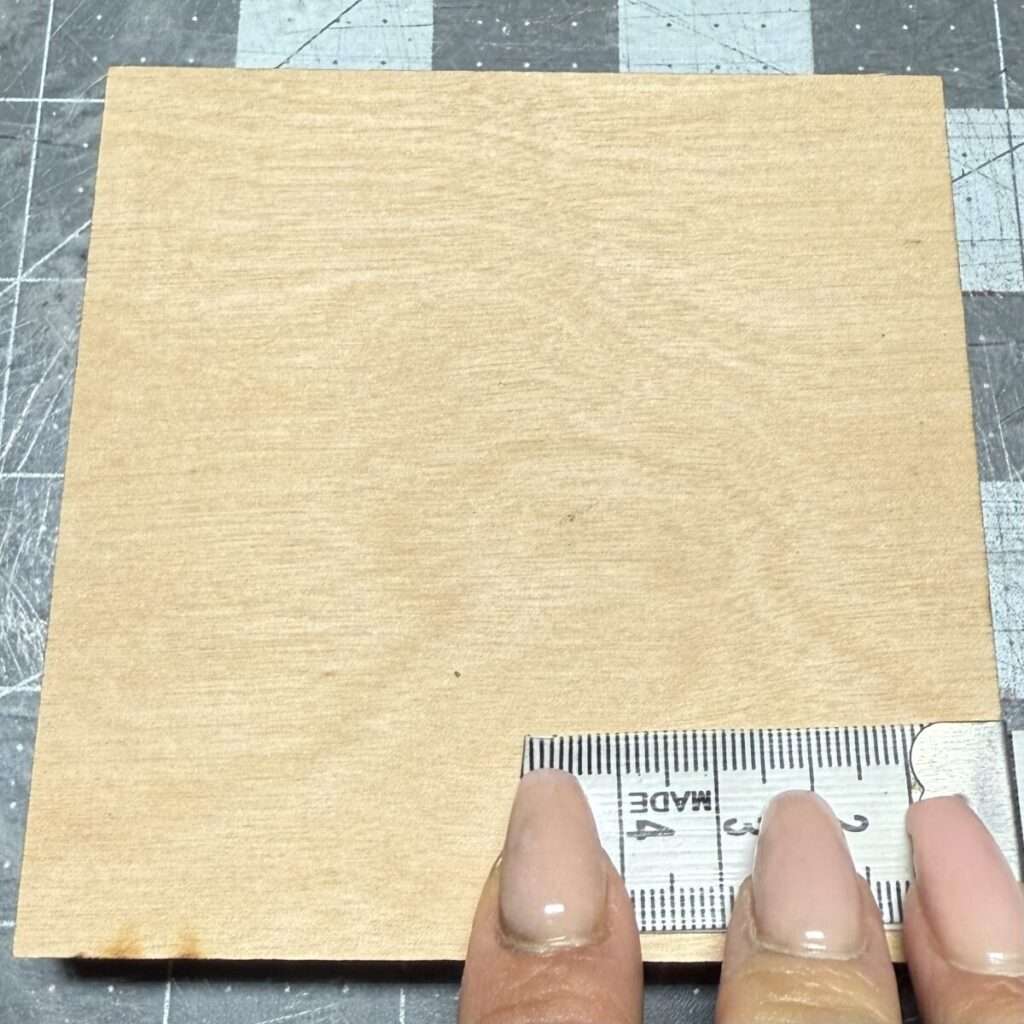
I found the easiest way to find the center of the wood without calculating is by using a seamstress tape measure or a piece of twine. Put the tape measure horizontally on the wood edge to edge. Then carefully fold the tape measure itself. Where it bends is the center. Repeat to get the vertical center. Use a ruler (preferably a clear ruler) to *LIGHTLY* mark the center using the marks you created.
Now that you’ve found the center of the wood it’s time to prep the pattern. Fold the pattern in half horizontally and vertically. I use masking tape or low tack tape to tape the pattern to the wood to keep it in place.
Use the heat transfer tool, starting in the middle, and work your way out. I do this because otherwise the paper won’t stay flat and it’ll bow out at the edges. If that happens the pattern won’t transfer properly. You have to be careful and go in sections/quarters. Periodically check to make sure that the transfer is complete before moving to the next quarter. When you are done you want to lift it do so carefully and check to see if you transferred everything. If not lay it back down and go over any pieces that didn’t transfer
Press firmly but let the heat do most of the work. Set the heat as high as it will go. When you are pressing you don’t want to let it sit to long in one place because it’ll scorch the wood. This can be difficult / impossible to remove with sanding. Move at a steady pace.
Finally, it is time to burn. Next week we’ll talk about burning and finishing touches. In the meantime share with us what works for you when transferring patterns. Tag us @bz_furfur and, as always, stay unique.