
This post is part of a series on our experience learning some of the Adobe Creative Cloud Products. If you are interested in reading from the beginning please start with Mastering Adobe Creative Cloud.
OK, so I am going to admit, before last week I had never used Premier Pro. Most of my video editing experience is using iMovie and various web-based video editors. So, here are a few things to keep in mind:
- My observations may appear very basic to anyone who has used Premier Pro
- The steps I take to do things are undoubtedly suboptimal
With that out of the way let’s see if we can get Premier Pro to help us with one of our biggest pain points: Creating videos for social media.
The Interface
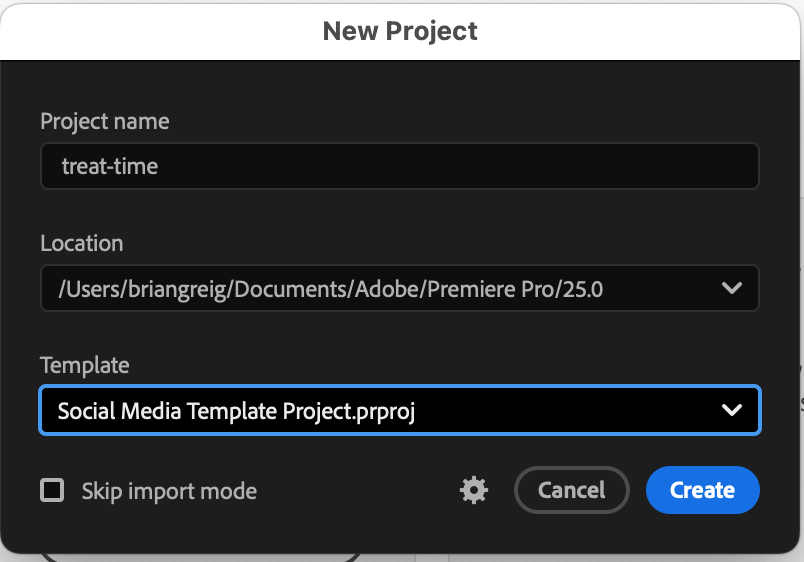
Oh God! When I first loaded up Premier Pro I didn’t know what I was in for. The process to create a new project and import a video is pretty seamless. When I opened it up to start editing, however, my eyes started to bleed. This must be how people who have never used Photoshop feel the first time they open it up. There are so many widgets on the screen I didn’t know where to start. Fortunately, I looked for things that I was familiar with.
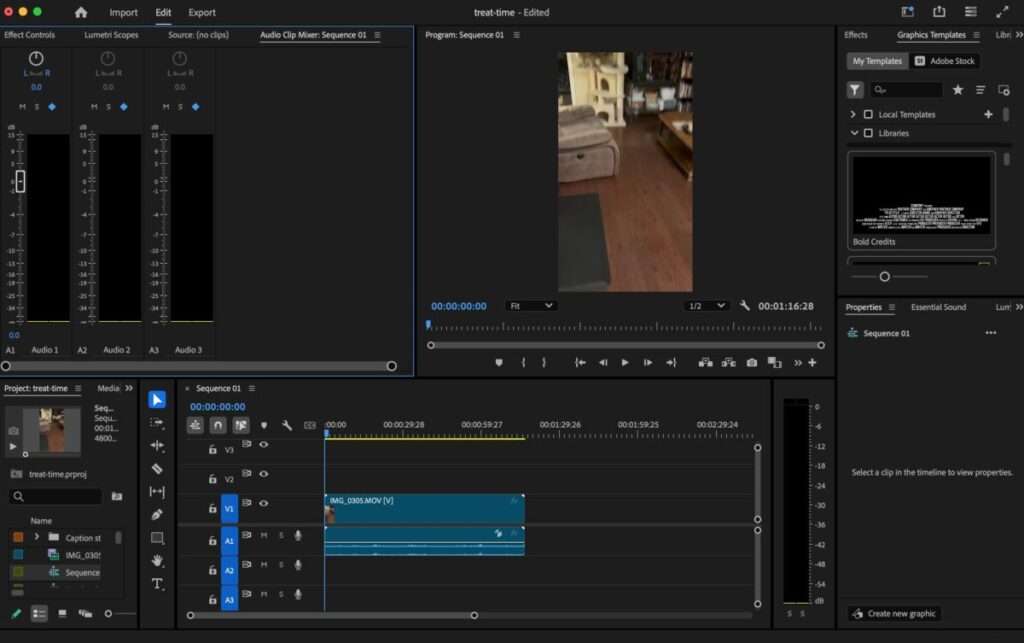
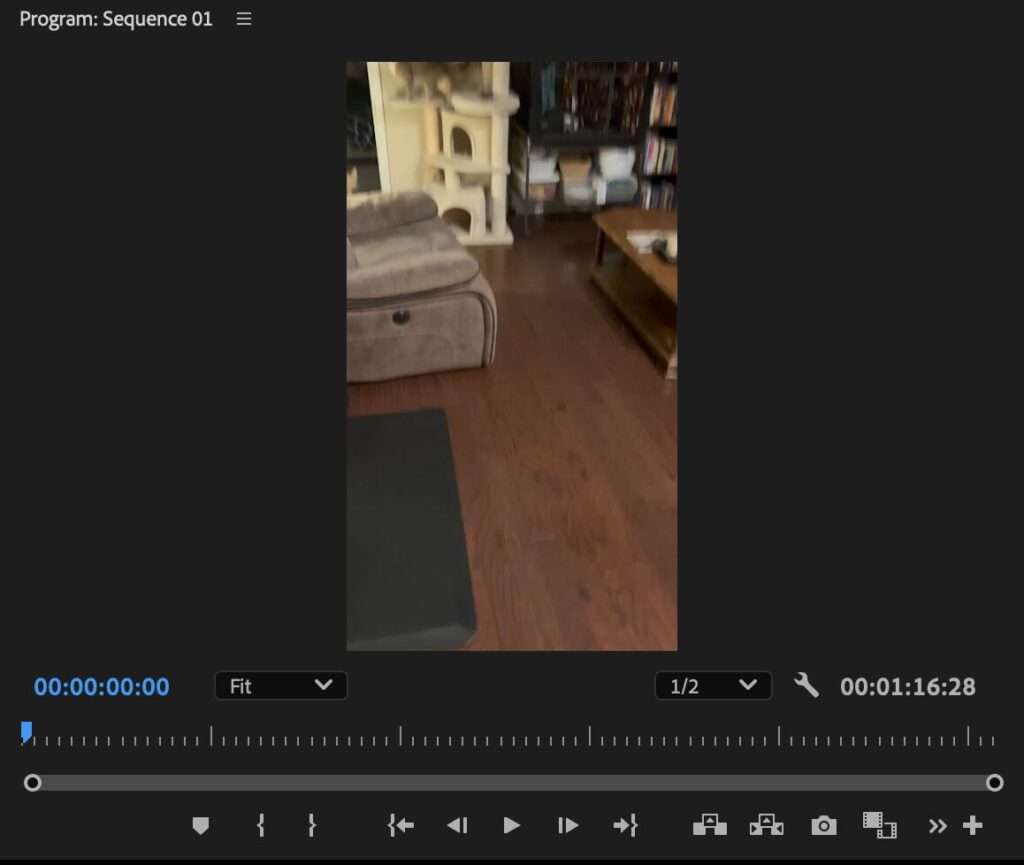
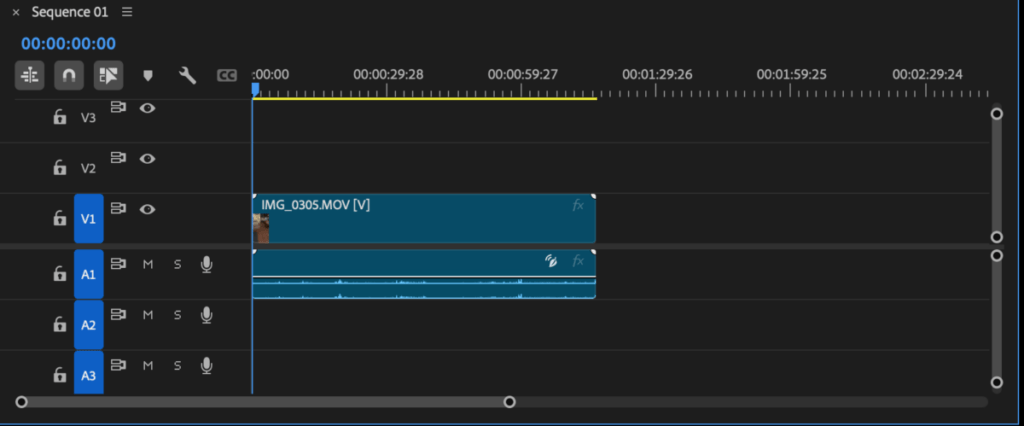
Under the video, you have some controls for playing, pausing, etc so I could watch the video. Under the video, also, I could see there was a timeline that had two layers. One for video and one for audio. There were additional empty layers for each as well so I could presume that there was some option to add additional audio, video, and possibly other layers. Clicking on either of these layers I could access a properties pane to the right which allowed me to adjust volume, color saturation, and other properties of the video. So far so good.
Editing
This is where I got stuck and I needed to seek out help online. I wanted to cut certain parts of the video out and splice them together. It wasn’t immediately obvious how I could do this. Turns out the razor blade in the toolbar is for cutting your video. Pausing the video at the point I wanted to cut and clicking the razor blade tool on the timeline (it’ll snap to where the video is paused) splits the video. Then I could do the same for the point where I want the segment to end. I could then select the segment and delete it by hitting the delete key. Simple enough.
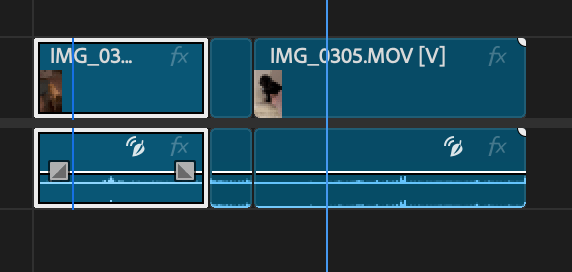
Once you cut the video it is going to leave gaps. You can select a segment and move them left or right to line them up again so that they transition from one to the other. The transitions are abrupt, though. So if you are just cutting out some uhs and ums this might be fine, but if you want a seamless transition from two different locales you might want to add some effects.
Effects
Once again, stumped, I had to search for how to add transition effects to my video. In the upper right-hand of the interface, we have a window with library, templates, and effects. There are a bunch of different effects available here but the one I was most interested in was video transitions. I played around with a few of them by dragging and dropping them from this window to the timeline where I wanted the transition to take place. Viola. Personally, I liked the Additive Dissolve.
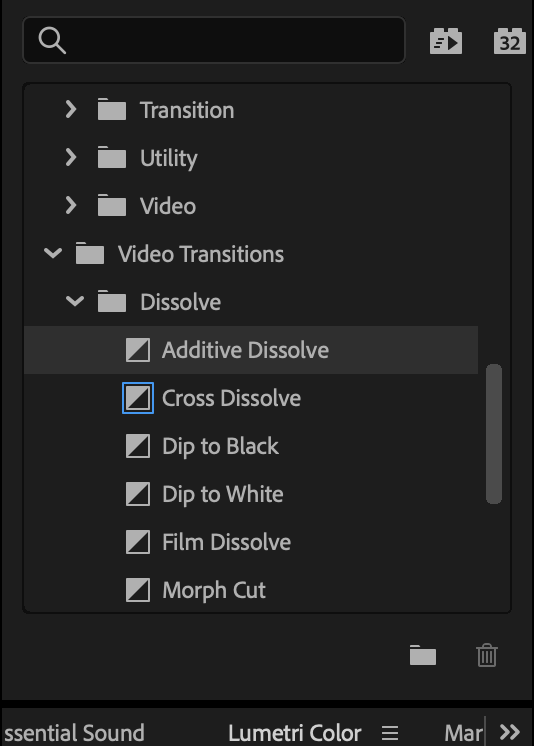
I played around with a few other effects. I do like that you can do picture-in-picture if you want to do a tutorial where you are showing yourself performing the technique while showing yourself to talk about it. There is a lot to experiment with here.
Adding Text
There is a Text Layer you can add to your timeline as well. If you want to caption your videos, add commentary, or just label transitions you can add text using this tool. When it is added to your layers you can set the duration it will show on your video. Honestly, since we are doing a lot of these videos for social media, the tools provided by most of the social media tools do a pretty good job of letting you add text to your videos so I prefer to just use those. As I get more comfortable with the tools, however, my options may change.
Exporting your video
That’s it. once your video is done you can export it and it’ll be saved in a format that can be uploaded to any of the social media platforms. Fair warning: This processing portion is a system hog. I have a fairly old laptop but it handles most tasks pretty well. My computer was all but unusable for the 5-10 minutes it took to export a video. Unless you have a super powerful machine plan something to so while the video processes.
That’s pretty much it for now for Adobe Premier Pro. I may do a follow up post at some point as I learn more about it but I think it has a place in our toolkit for editing videos and creating content for our socials. If you have tips or tricks for Premier Pro let us know @bz_furfur and, as always, stay unique.


