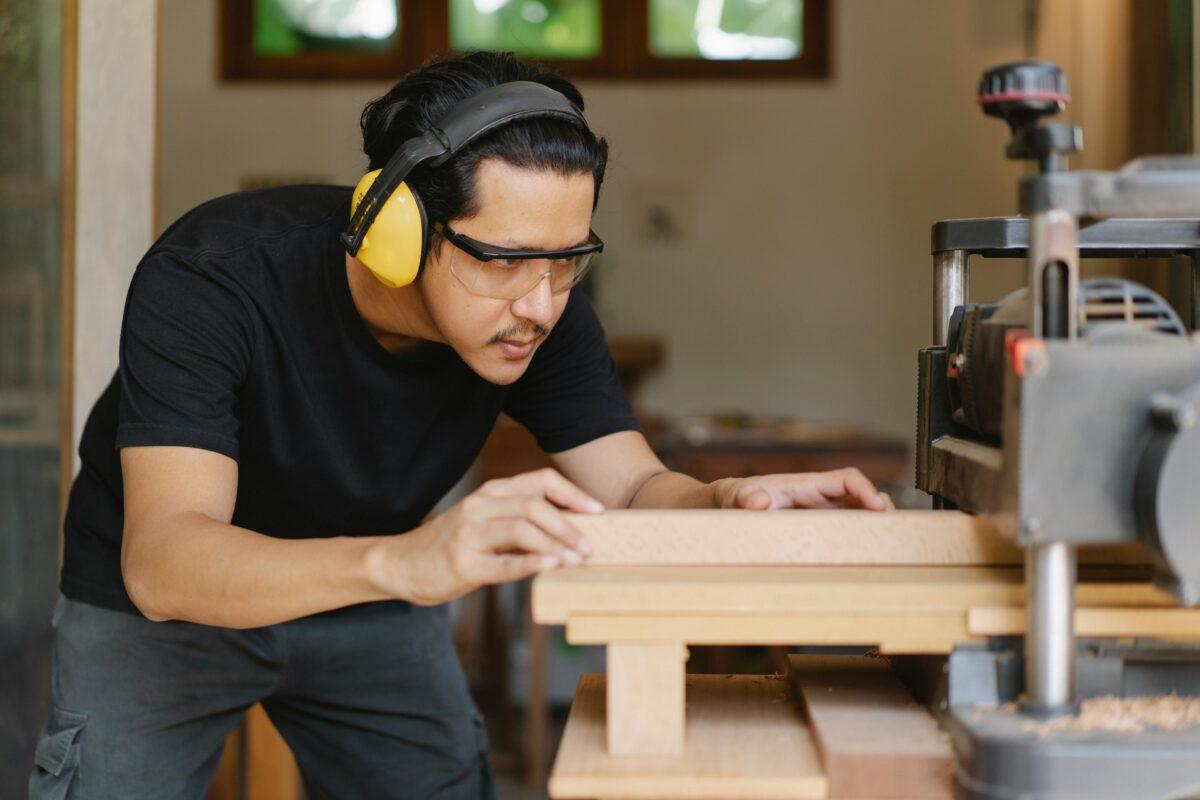
When I started out in pyrography I didn’t know much about woodworking. As a brand-new artist, I generally bought wood that was processed from vendors such as It’s David and Renee and Walnut Hallow. Now, to this day, I still buy a lot of my finer canvases from vendors but when you are at the lumber mill and you see an absolutely stellar piece of wood and you have a vision for it you need to understand a bit about woodworking. Here are some of the essential power tools that I use to help me process my own wood.
The Tools
- Table Saw: More often than not when I get a slab from a lumber mill it can be upwards of 12 feet long. Generally, the mill will be happy to cut it down to size for you but, if you don’t know immediately what you are going to be using the piece for you may not know how long you are going to need it to be. Getting familiar with a table saw is going to be key to cutting these larger pieces down to size. Table saws use large circular blades to cut through wood and can be raised and lowered to cut through multiple depths. They can also be tilted to cut at angles. Warning: These are some of the more dangerous tools in the workshop and you should take a safety class before operating one. In the MakerSpace they have a SawStop which can detect skin contact and come to an immediate halt. This will destroy the saw, but will also likely save your skin.
- Jointer: One thing that you’ll notice about unprocessed wood is that you aren’t going to have those smooth edges that you get from a piece of processed wood. They’ll usually be rigid and uneven. The jointer is a great tool for smoothing out those edges. You can run the edge of your wood over the jointer and it will create a flat, square, smooth edge to your lumber. Remember: When you are using a jointer you are shaving the edge off the wood so, if you are trying to conform to a particular length/width make sure you don’t have the planer set to a huge depth (should be 1/8” at most) and make sure you mark your desired measurements so you don’t shave off too much.
- Planer: These are one of the most important tools for a pyro. You want to be working on a smooth, level piece of wood. Often times wood is cut unevenly at the mill, or it warps over time. You can pass your wood through a planer, however, and get yourself a nice smooth, even slab. A neat trick to making sure your wood is level, after it comes out of the planer, is to scribble pencil markings on the wood. When it comes out the other end, if it is level, you should see no pencil markings. Another useful trick: If you have a smaller piece you can use a sled to compensate for the length and make sure it passes through completely. Make sure that when you are doing multiple passes through the planer you adjust it lower in small increments so that the wood doesn’t get wedged in, especially on the first several passes.
- Drum Sander: A planner will level your wood but it won’t give you that smooth finish. In order to get that you need to sand your wood down. At home, I use an orbital sander for my wood, but that can be exhausting (not to mention hard on your arms, and waste supplies) so, whenever possible, I like to use a drum sander. A drum sander will let you pass a piece of wood through and sand it uniformly. This is great for larger pieces of wood that would take hours to sand with an orbital. Just make sure you know how to properly clean it and that you are running your wood through evenly so that you don’t completely wear the sandpaper down on one side and not the other.
Where to go from here
There are plenty of other tools you should be familiar with as well but these four will get you through most of the basics. You should also be familiar with T-squares, tape measure, levels, and the other standard woodshop tools. Do you have some tips on how to process your own wood? We’d love to hear them. Tag us @bz_furfur and, as always, stay unique.


