Last week we dove into image editing with Preview on the Mac. That is definitely a great option for anyone looking to do some basic image manipulation but you will eventually reach a point where that will not suffice. When this happens you have two options: 1. buy yourself a piece of software like Adobe Photoshop or 2. look for free alternatives such as Gimp. Growing up my father used to have a crude, but a solid, piece of advice for me: “don’t p**s your money away”. So, based on that fatherly advice, I think you know exactly which software we are going to be covering today.
Getting started with Gimp
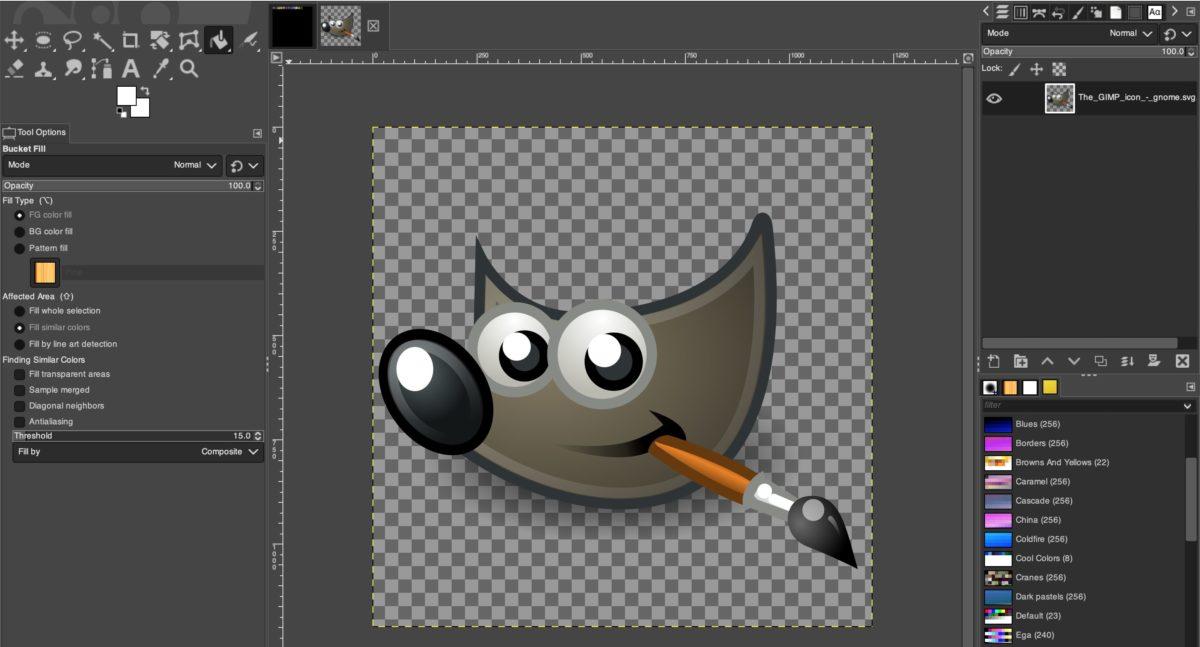
Gimp is an open-source, freely available alternative to Photoshop. It offers a lot of the same functionality but, if you are an avid Photoshop user, you may get frustrated with some of the nuanced differences. The good news is Gimp is available for free download for Mac or Windows. You can find instructions on how to install it on their website. Once you get it up and running you can start it up and be greeted with something that looks like (if you want to follow along the source images I used for this demo are at the end of the post).
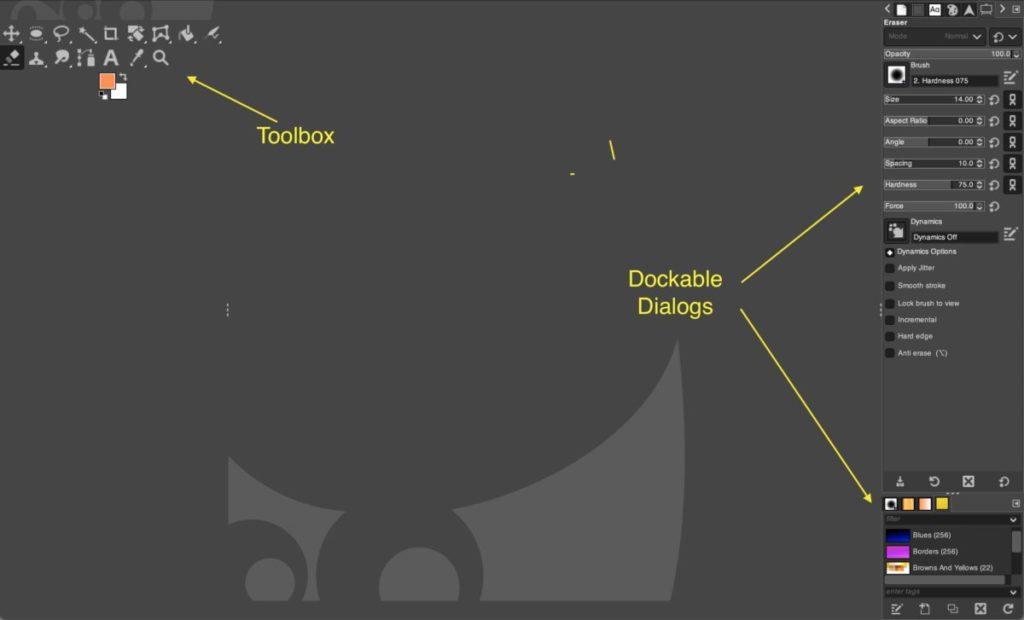
The left side is your toolbox, which has any of your tools for selecting, drawing, adding text, rotating, and so on. On the right-hand side, you have dockable dialogs that allow you to manage things like layers, paths, colors, patterns, and other features of your image. This is not a comprehensive overview so, I am telling you in advance now, I will not be going over every tool in the Gimp application. Honestly, I can’t say with certainty I’ve used every tool in the Gimp application. My focus will be on those that you may need to do some basic pre-processing of images when making templates.
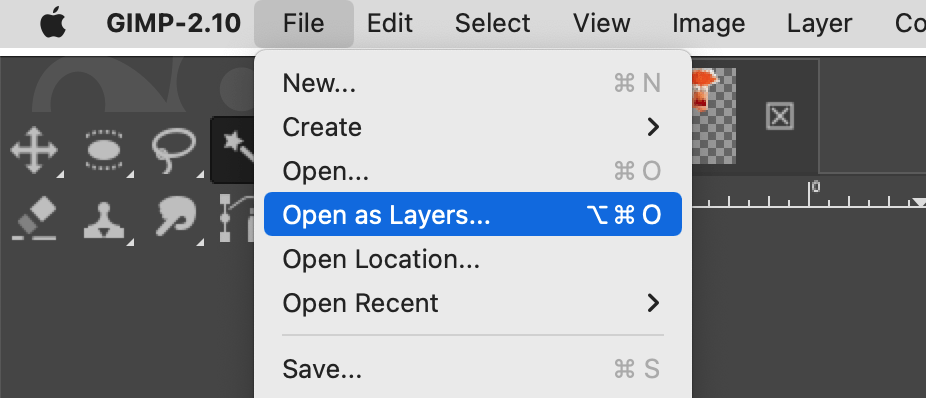
Let’s jump in and open an image for editing. Click File > Open and navigate to the file you want to edit:

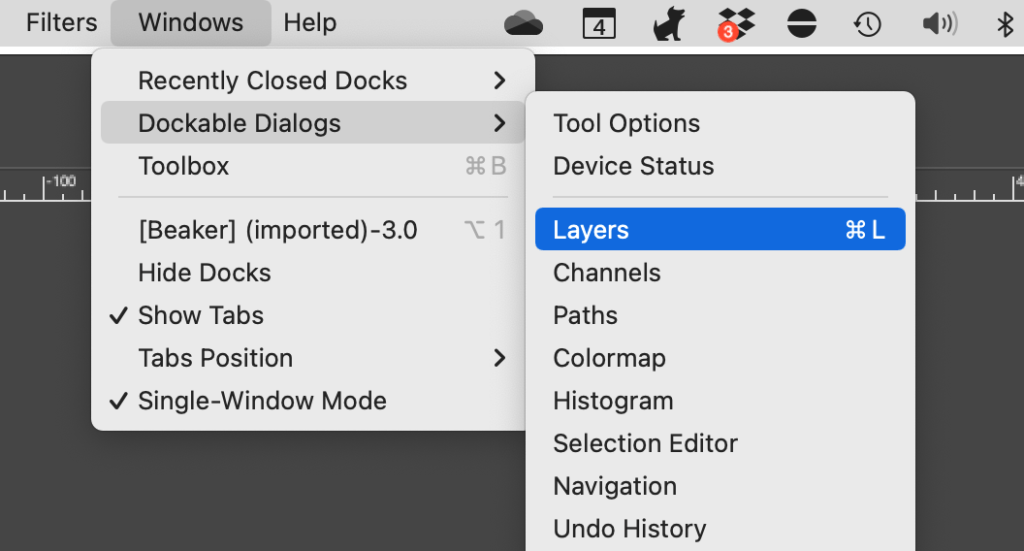
That is going to place the image on your canvas to work on. It will also add your image as a layer to your project. Gimp is made up of layers so that you can independently work on different components of your image without interfering with others. To see your layers click on Dockable Dialogs > Layers.
This will bring your layers up to the right side of your screen
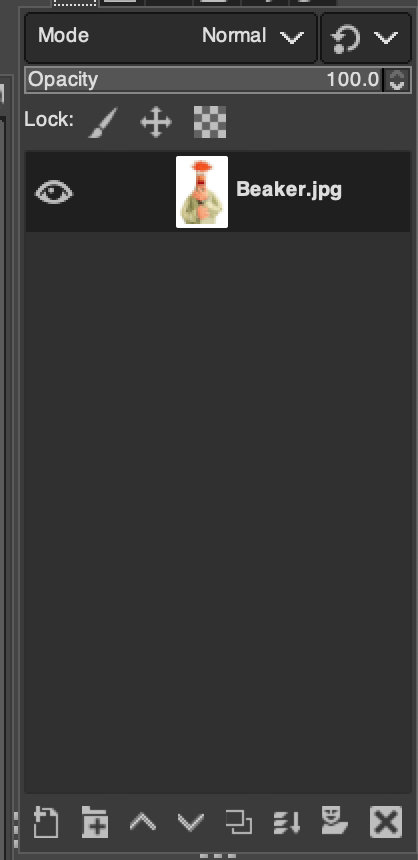
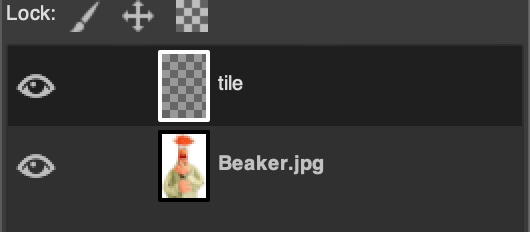
Notice a couple of things in your layers. Every layer is going to have an eyeball next to it. This is to allow you to show/hide that particular layer. You can also use the buttons at the bottom to add new layers, add groups of layers, and move layers up and down. Let’s add a new layer. Click the Create New Layer button ![]()
Leave all the default options and click ok. Notice now we have two layers.
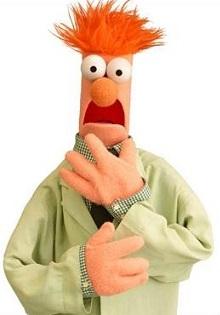
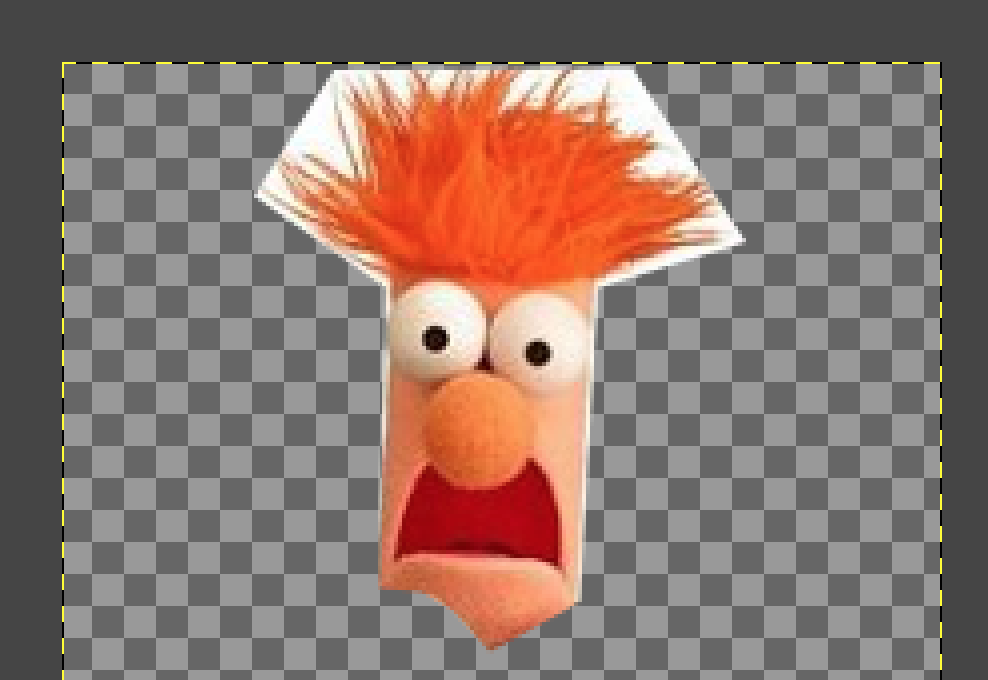
Now, I for one, love Beakers attire. Let’s say, though, that we want to make a piece for a formal event. A simple lab coat just won’t do. Let’s go over to our toolbox and pick the Free Select Tool ![]()
Here we are going to do our best to click and drag a selection around Beaker’s head so we can copy it to our new layer. Click View > Zoom > 2:1 (200%). Now it should be easier for us to select just his head.
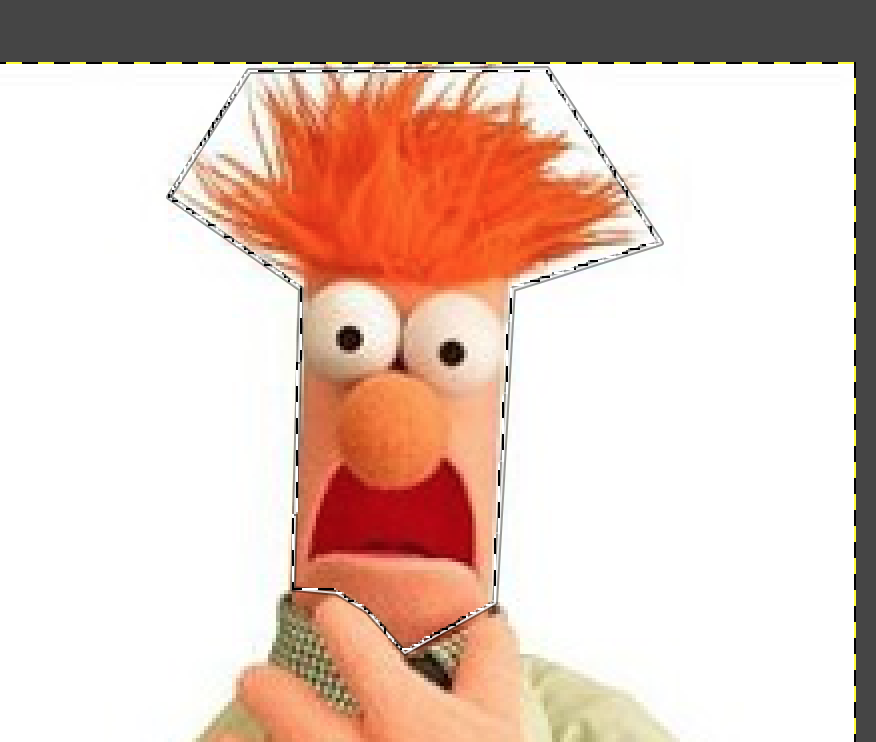
Once you complete your selection you should notice the “dancing ants” around his head. This is to indicate that this is selected. Make sure you have the layer selected with Beaker and click Edit > Copy.
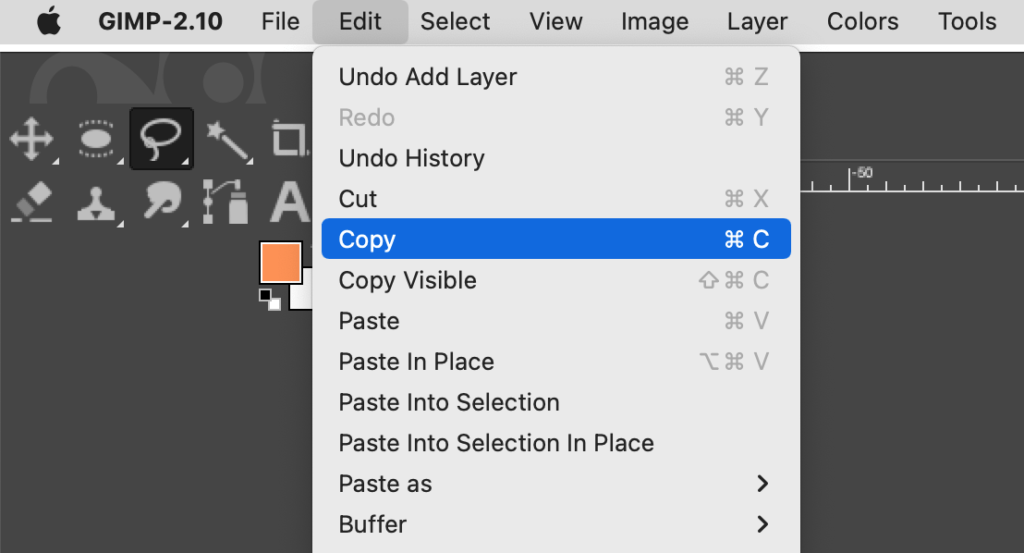
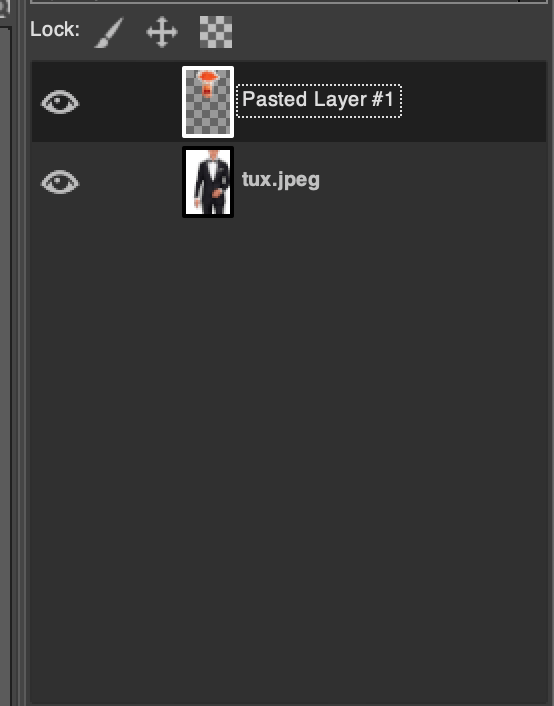
Now select Edit > Paste > Paste as > New Layer.

And… what gives. The picture looks exactly the same. Well, what we did was create a new layer with just Beaker’s head: Pasted Layer #1.
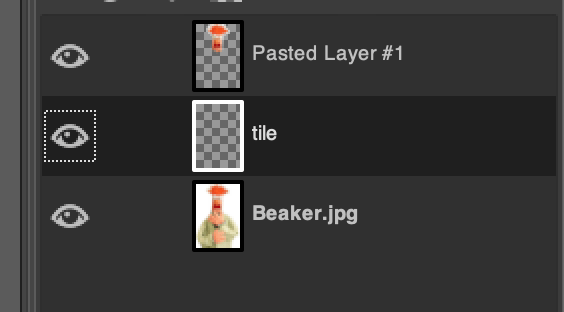
Click the eye to hide our original layer, beaker.jpg, and you’ll see Beaker’s head.
At this point, you can get rid of that original layer completely. We won’t be using it again. You can get rid of the test one we created earlier as well. Just click the delete icon under your layer’s dockable dialog ![]()
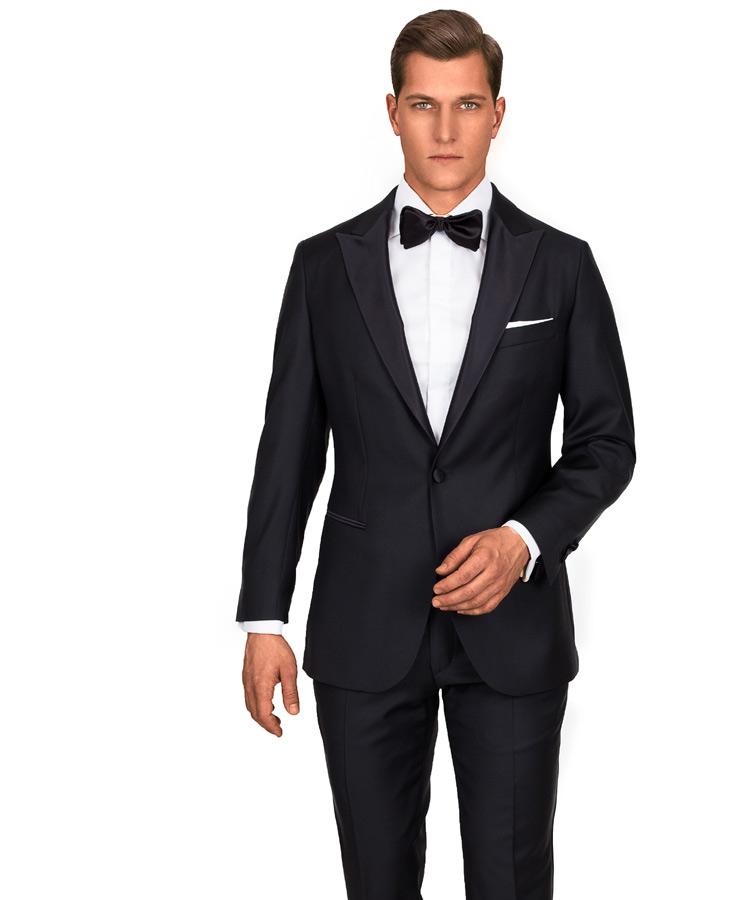
So now it is time to look for some formalwear for our friend. I am going to import an image of a tuxedo. We are going to click File > Open as Layers… and select our image.
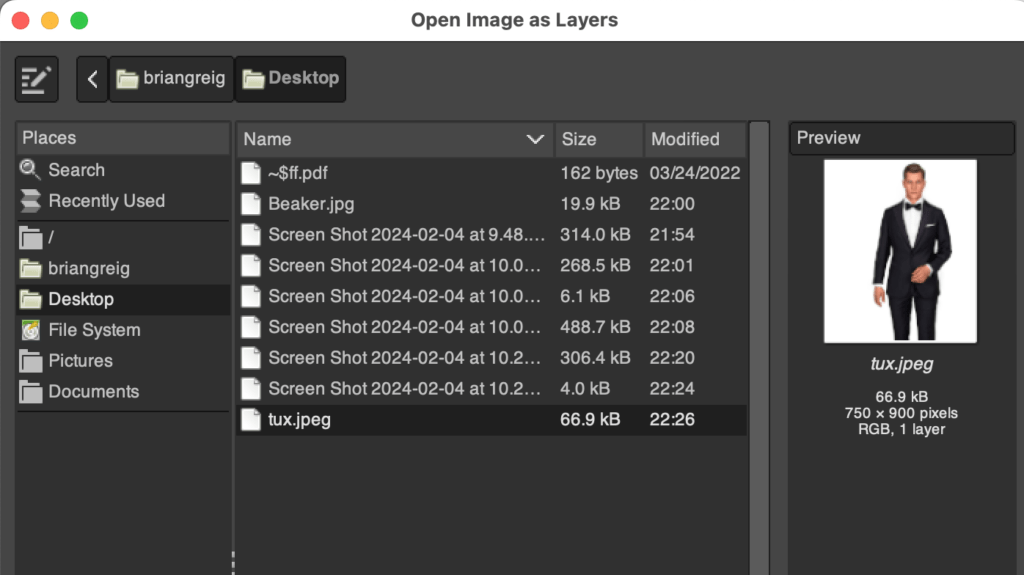
What happened? Now, instead of seeing Beaker, we just have a partial image of a tuxedo.
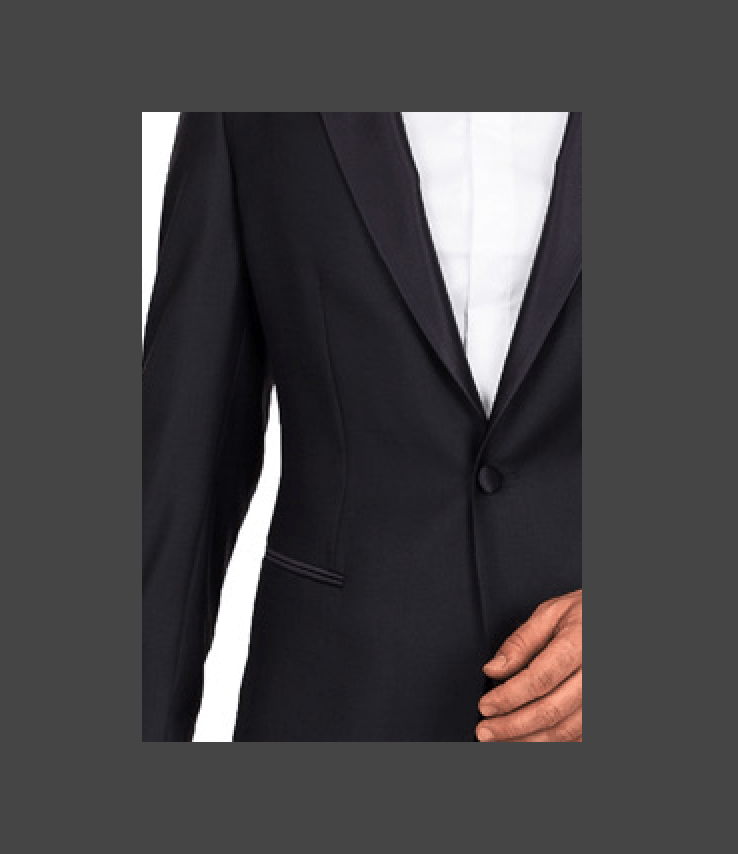
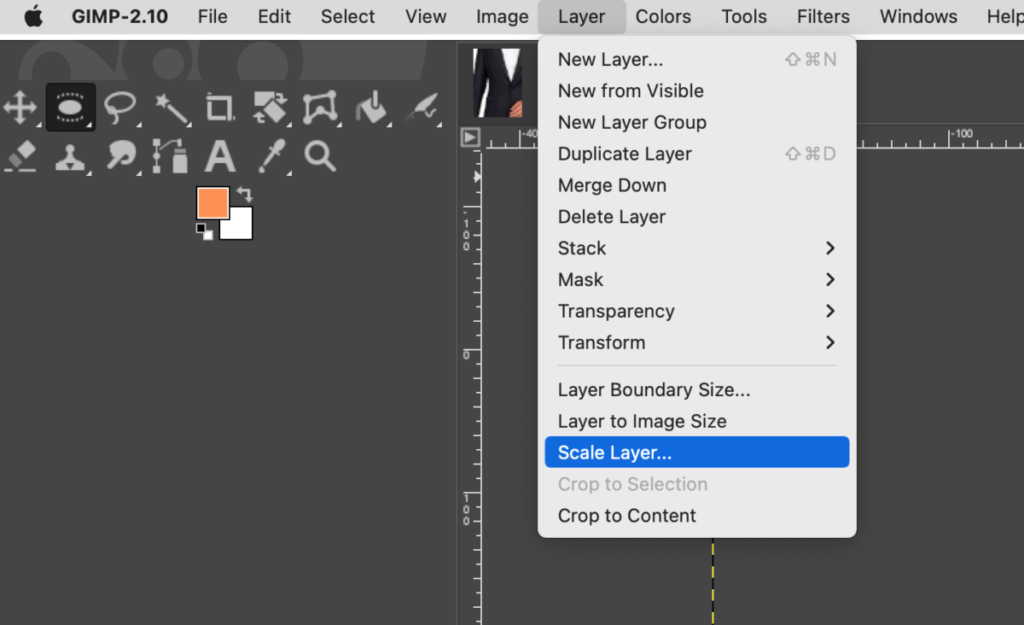
We need to scale this new layer to fit the canvas. Let’s go to Layer > Scale Layer…
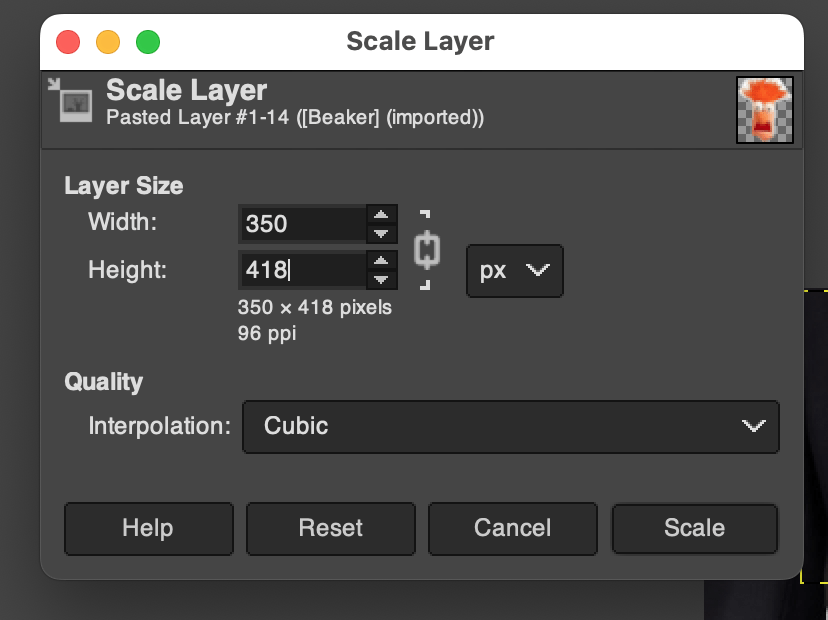
We’re going to scale it to 350 px by 418 px
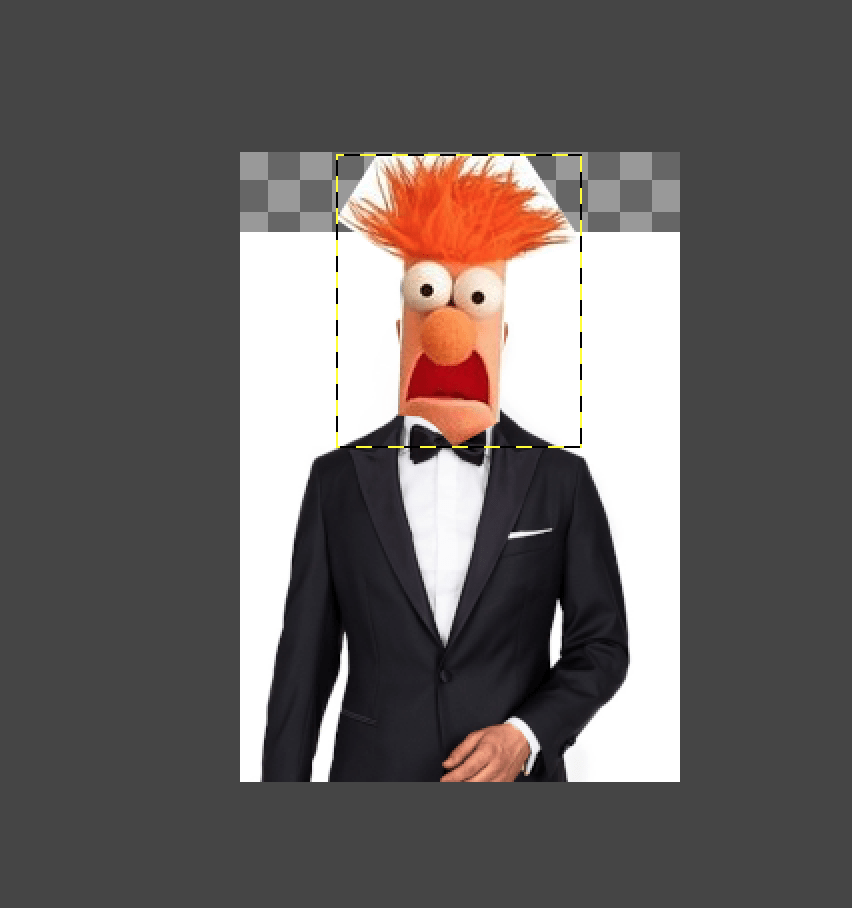
Why did we select 350 px? Well, really, there is no science to it. I tried picking a few different sizes until it looked “right”. But, lo and behold, we still don’t see Beaker. Because layers “stack” on top of each other Beaker is actually behind our Tuxedo guy. Let’s rearrange our layers. We can drag them up / down by dragging and dropping them:
Now Beaker is back in front. (layers at the top are in front, the further down they are the further back they are). But he’s not lined up with his attire. Let’s fix that. Select the layer with tux.jpeg and use the move tool to move the image around on the layer ![]()
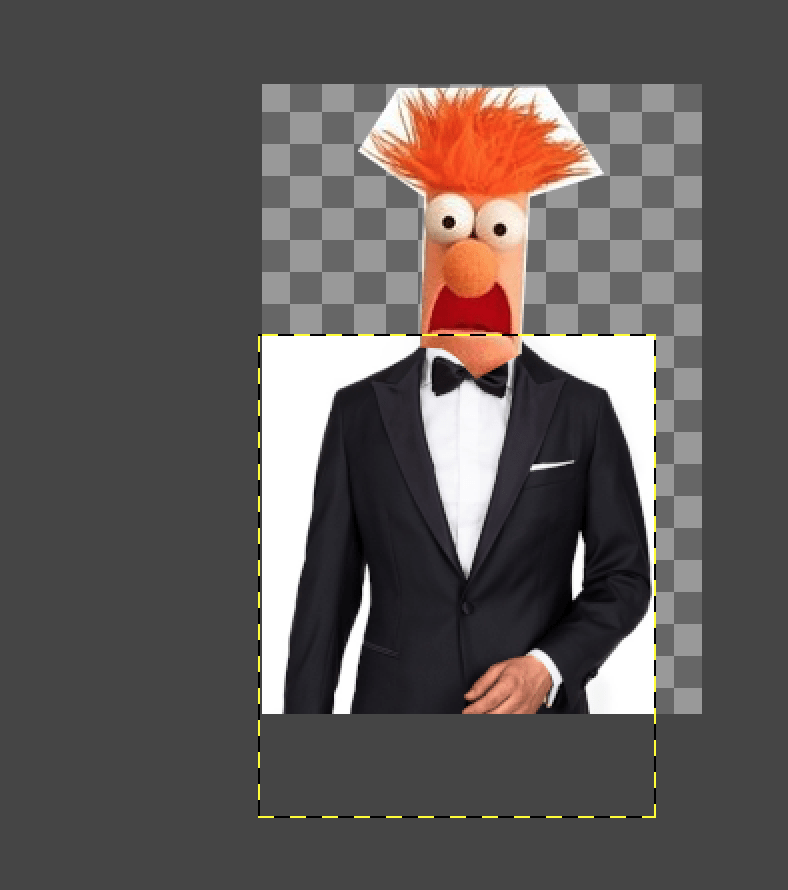
You should be able to nicely position Beaker right on the Tux.
You can still see the gentleman’s ears sticking out so let’s crop out his head entirely. Select the tuxedo guy layer and use the crop tool ![]()
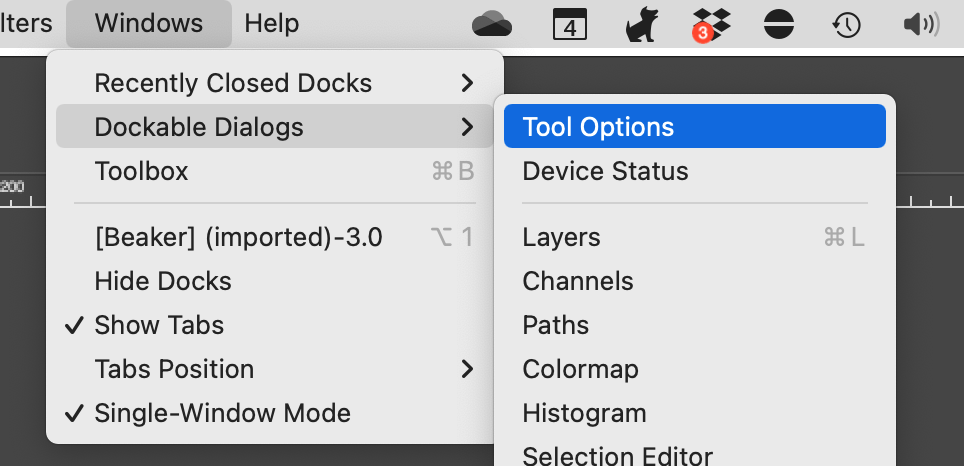
We are going to want to change some of the options for the crop tool. If your tool options aren’t visible click Windows > Dockable Dialogs > Tool Options.
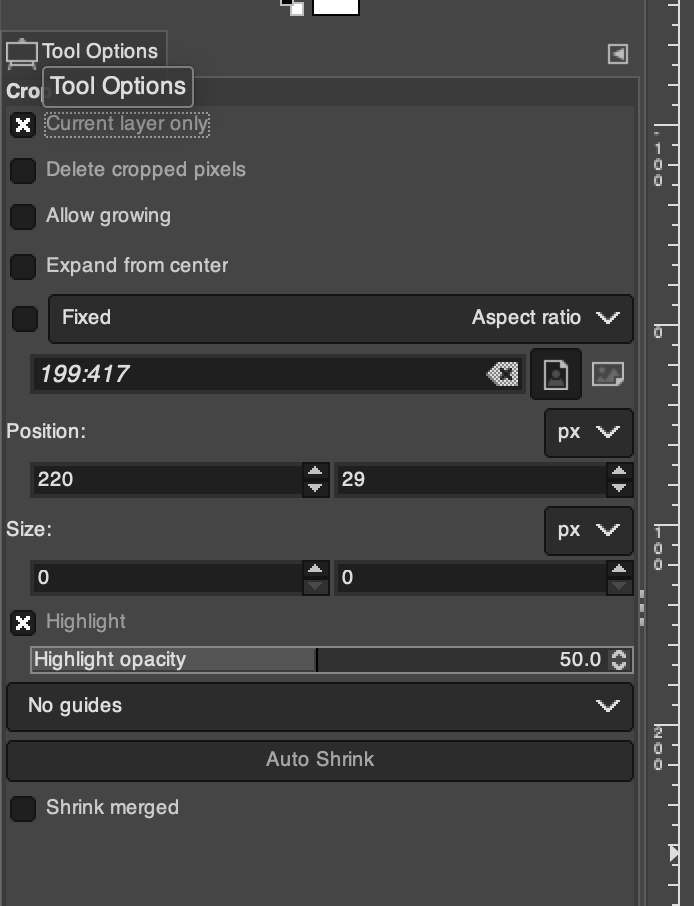
We want to make sure that for the Crop Tool we select Current Layer Only:
Now, with the tux layer selected highlight the tuxedo and press enter. It will crop out everything in that layer except what we had selected.
Beaker is looking pretty good. We’re almost done. Let’s fill the rest of the background with white. Use the Dropper Tool ![]() to select the background color of the tuxedo guy, insert a new layer below the tuxedo guy, and use the fill tool
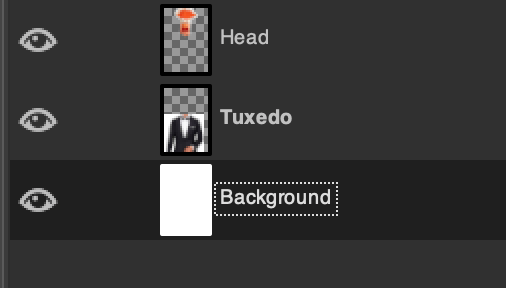
to select the background color of the tuxedo guy, insert a new layer below the tuxedo guy, and use the fill tool ![]() to make it completely white. At this point, you may want to rename your layers as well as it can get hard to figure out which layer is which when you have a lot:
to make it completely white. At this point, you may want to rename your layers as well as it can get hard to figure out which layer is which when you have a lot:
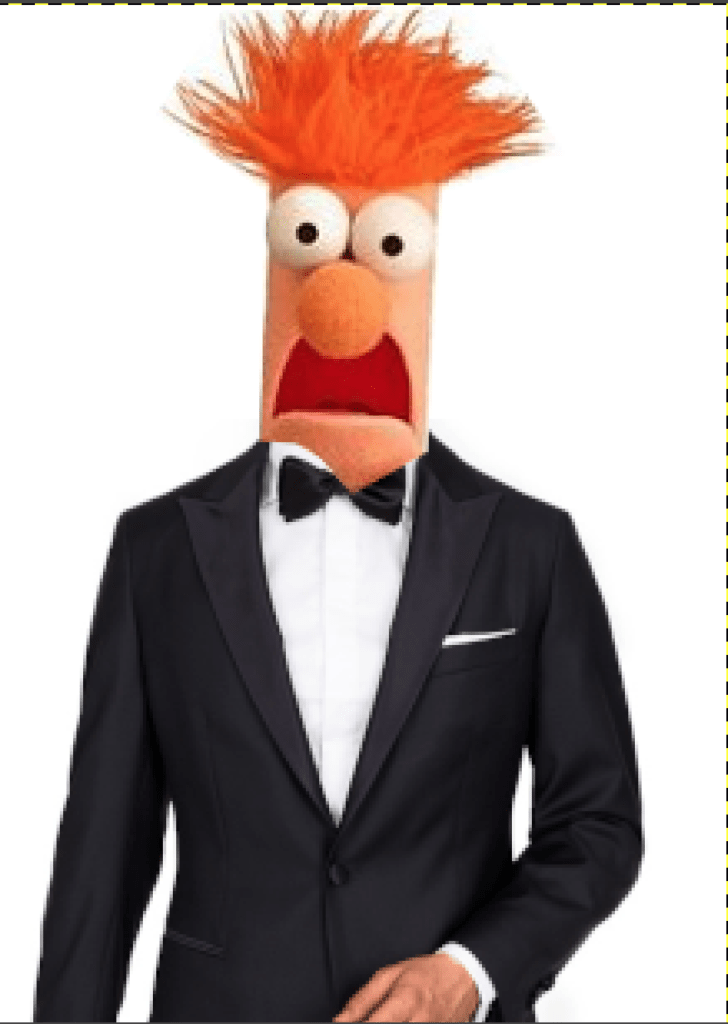
Now let’s check out Beaker looking particularly fancy:
Amazing! The last step is to save your project. When you save it Gimp it will save as a .xcf file by default. This is a special format used by Gimp which will retain all of your layers making it very easy to make adjustments to your project. You may also want to export it to another format (such as a jpg or png). To do this click File > Export…
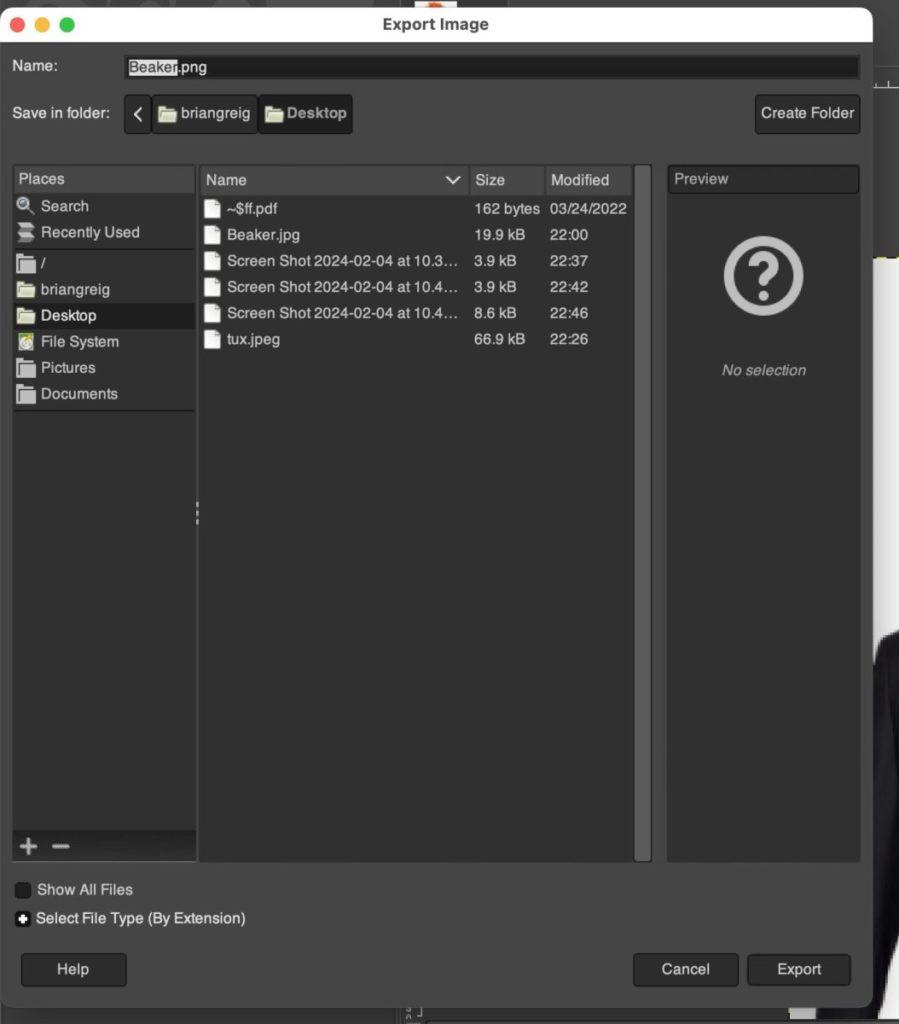
Give it the file type you want to export it as, it will ask you to set some options (defaults are probably fine) and you now have a png (or whatever format you selected) that you can use anywhere.
I hope this was helpful. Again, this is just the tip of the iceberg with Gimp. There are so many other tools and options to tweak and play around with. Hopefully, this gives you enough information to start working comfortably in the application so you can use this to further enhance your workflow. Send us your creations @bz_furfur and, as always, stay unique.