
This is part three of a series of blog posts on Planning the Art. We will be posting parts 4 – 6 in the coming weeks, so be sure to keep coming back. We’ll be discussing in great detail some of the topics highlighted in last week’s post. If you want to go back and read from the beginning, start here.
Creating beautiful art is a challenging endeavor. You want your piece to be original, compelling, and cohesive and that the message you are trying to express comes across clearly. Before creating, however, it is important to have a plan for what your final product is going to look like.
Why create patterns?
Some people have a talent of drawing. I am not one of those people. Drawing patterns from scratch would be a flex for me, but the truth is, that is not where I am at right now. There is always the option to teach myself but there just isn’t enough hours in the day. So, instead, I use several tools that I have at my disposal to create my patterns digitally.
Tools of the Trade
My tools of choice are my iPad and Procreate. There are other tools, such as Canva and Cricut Design Space, that I use to supplement my workflow for things such as lettering. Procreate for iPad, however, is what I use primarily for patterns. According to their website, it is “the complete art studio you can take anywhere.” Some of the advantages of Procreate:
- No subscriptions. You pay for once and it is yours.
- It comes with many standard brushes that you can use to get started working with at no additional cost
- There are plenty of basic lessons on their website to learn how to use it.
Beyond the standard brushes, you can also download and import your own. There are hundreds of brushes in my arsenal some of which I paid for, some of which I have been found free. Websites such as Etsy, Creative Fabrica, Design Bundles, Gumroad, and Procreate Folio are great for finding specific brushes to fit your needs. There is also the option to create your own brushes.
We’ve all heard the old adage: “Work smarter, not harder”. Rather than attempt to take on the daunting task of drawing a pattern from scratch, knowing that drawing is not my strong suit, I play to my strengths. I uses brushes, stamps, and SVGs in Procreate to create completely unique digital patterns that I can transfer and burn into wood.
My Pattern Process
If you want to know how I choose patterns/wood look back at last week’s blog post or listen to this episode of PyroToasty Talks my podcast with Renee and David from Its David And Renee.
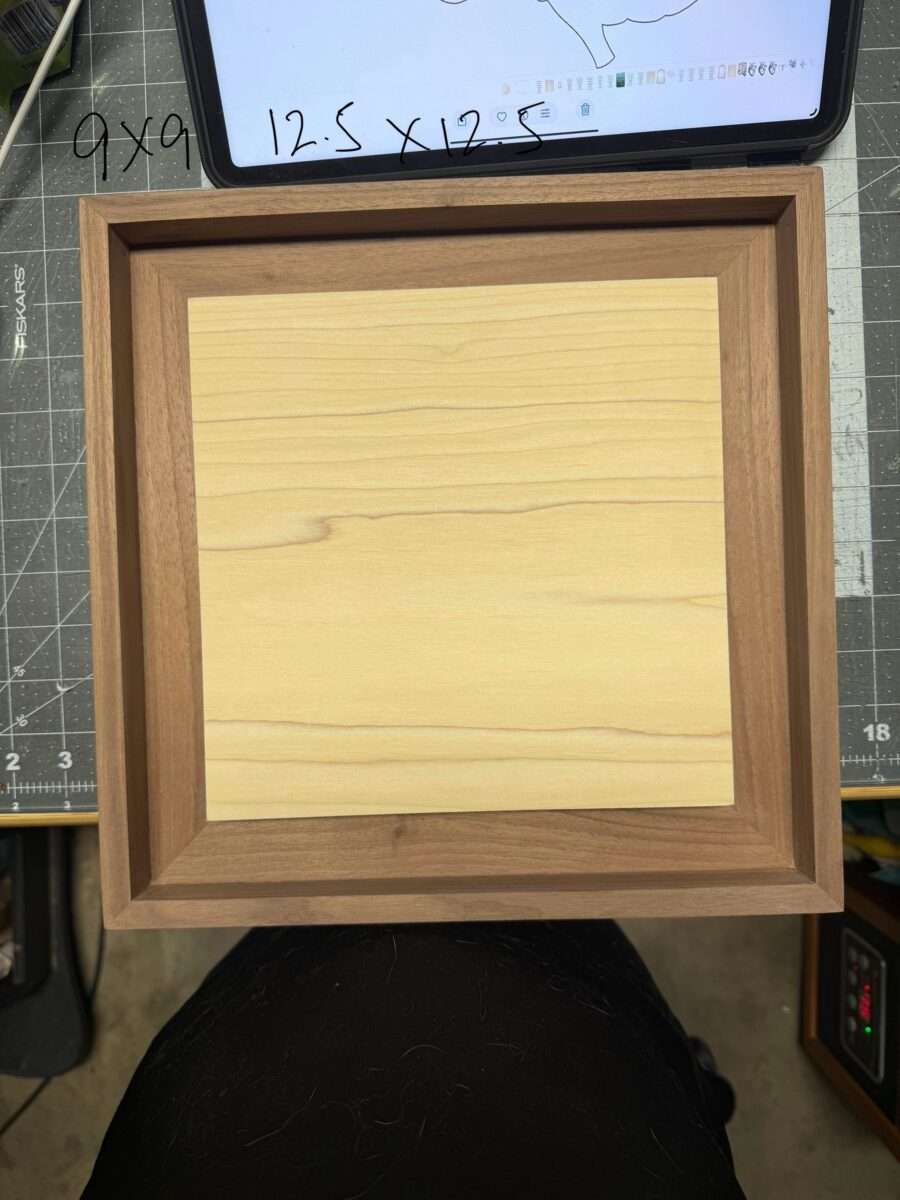
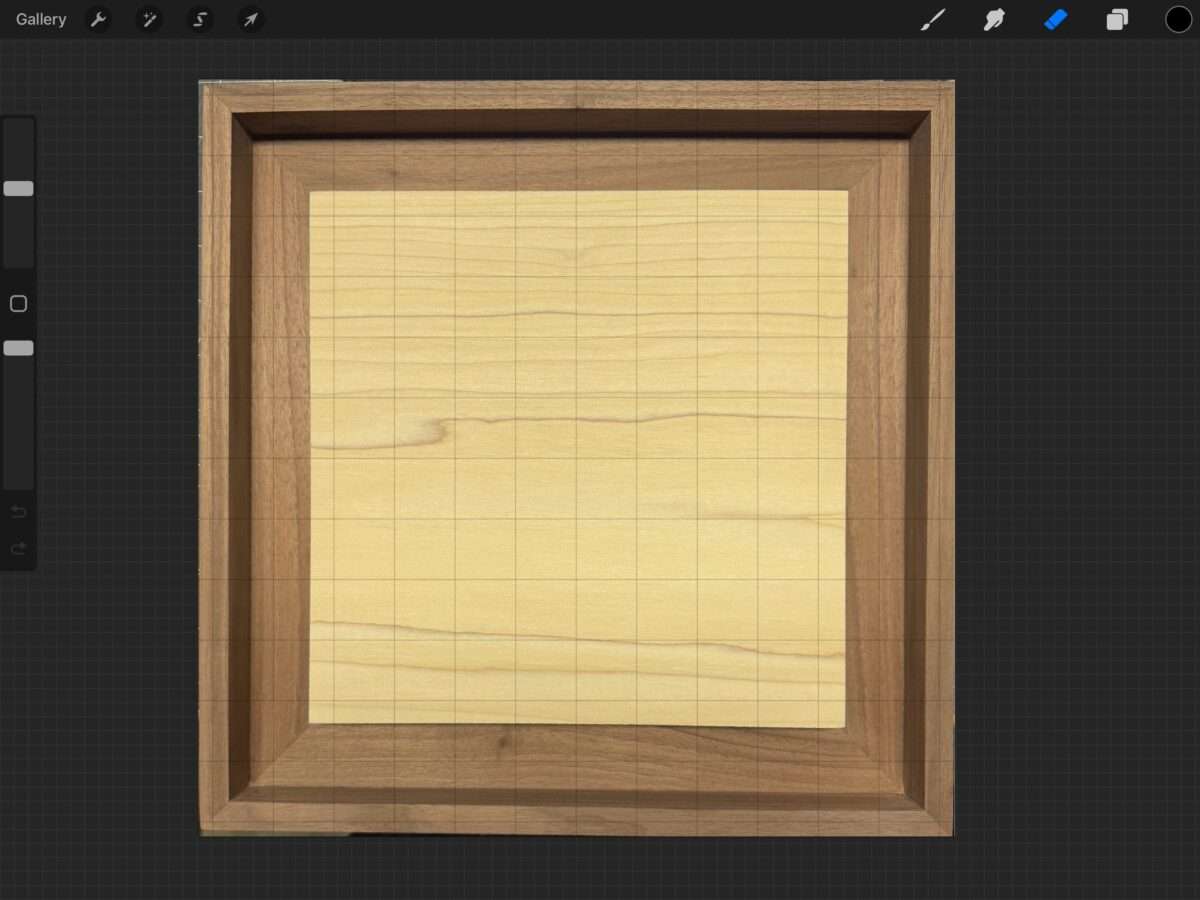
- I take a picture of the wood, from above. If you have an iPhone use the crosshairs to align your wood as best as possible. This is important when you are creating the pattern so you have an accurate rendition of the canvas. I save it in my photos.

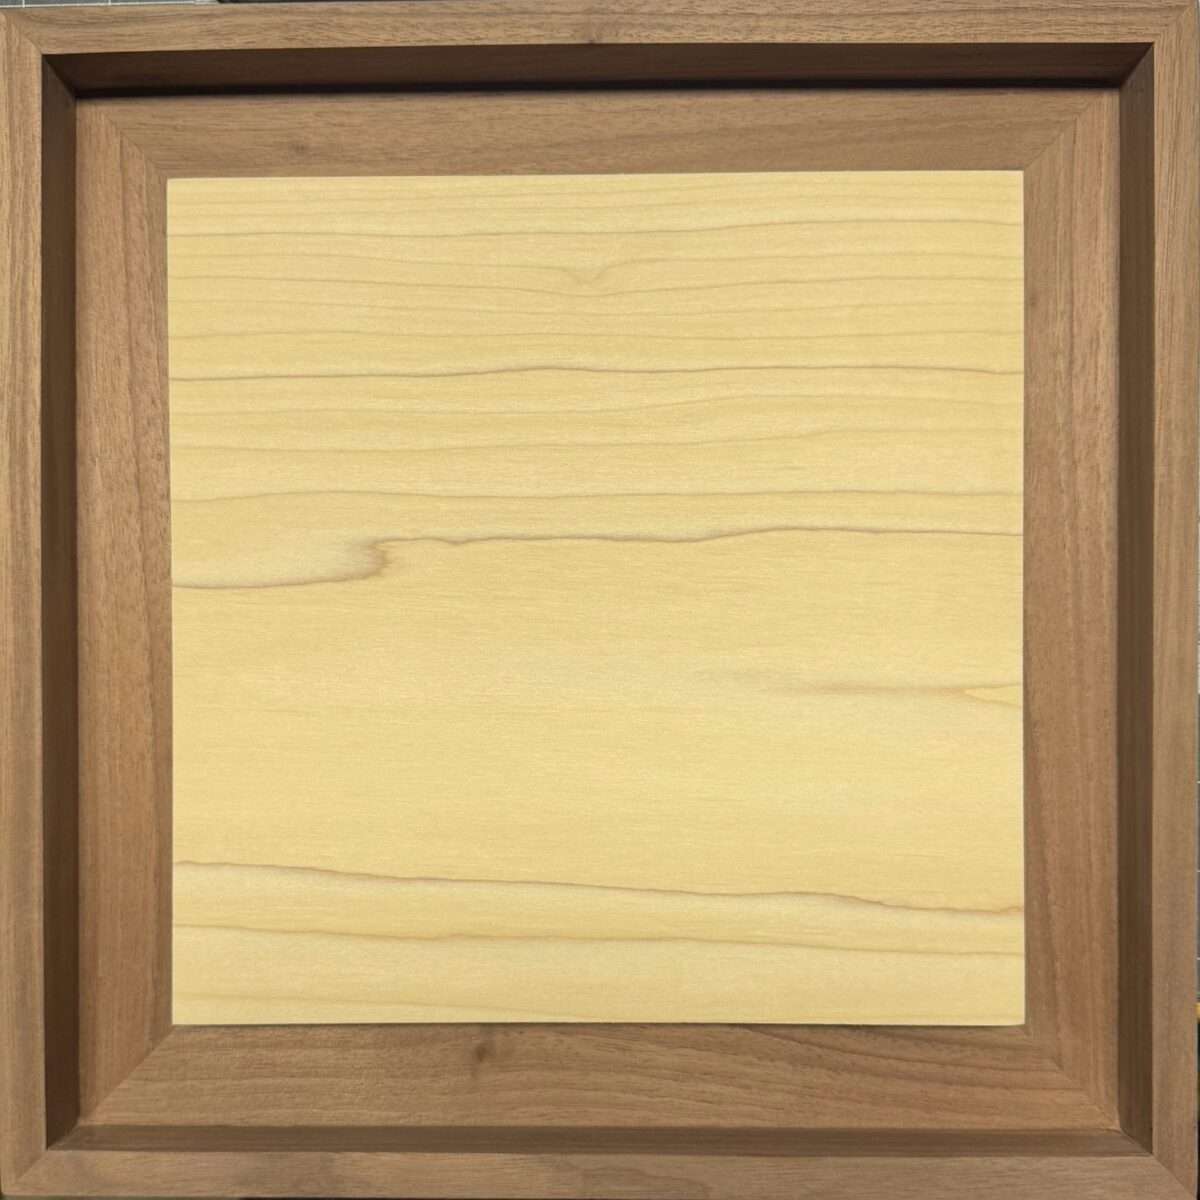
I do this so I can edit the picture before I export it. Next, I will crop the picture removing all things around the wood leaving just a picture of the wood (as much as possible). I have used Canva to remove backgrounds and edit pictures also as this is less cumbersome than trying to crop the picture down in Procreate.
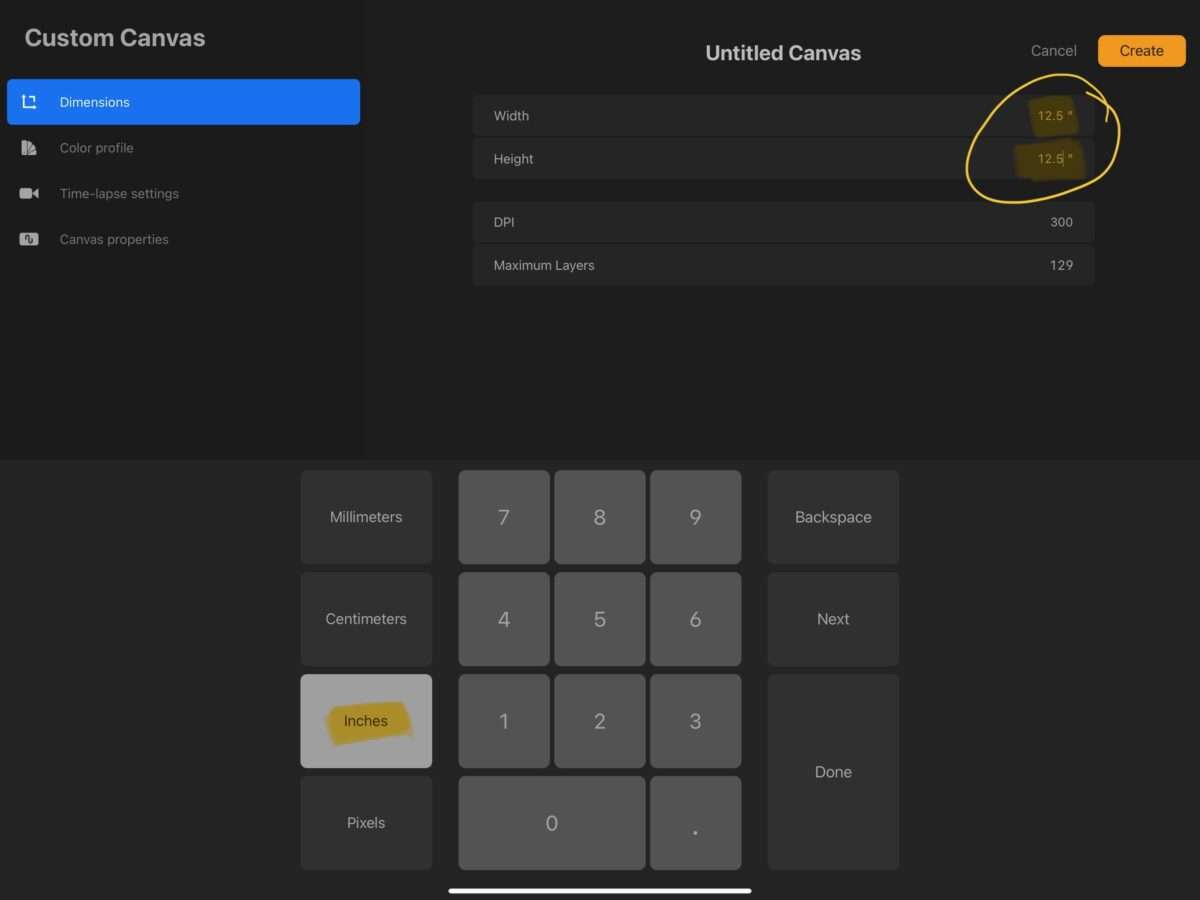
- Once I am satisfied with the picture of the canvas I export it into Procreate. I create a canvas the exact size of the wood.
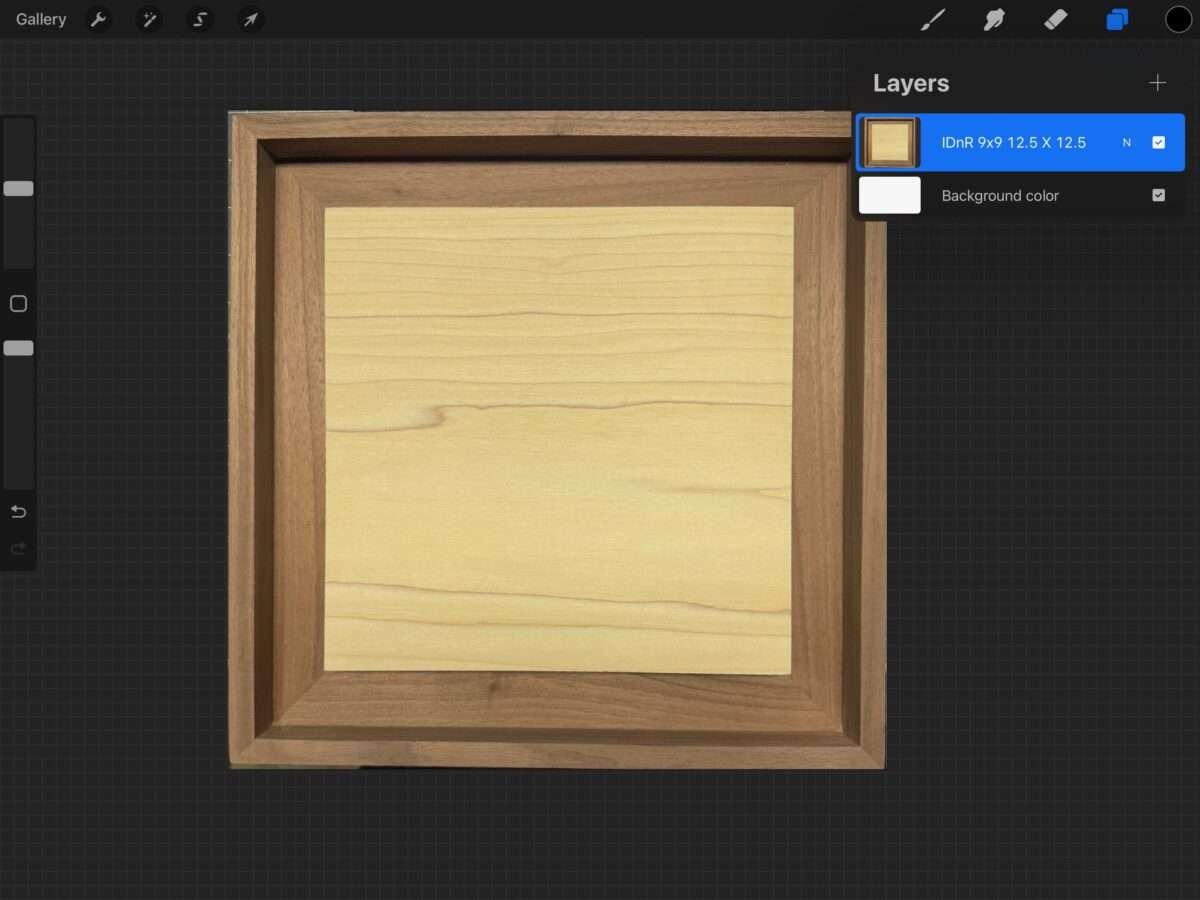
In this example, the above canvas is 12.5” x 12.5”.
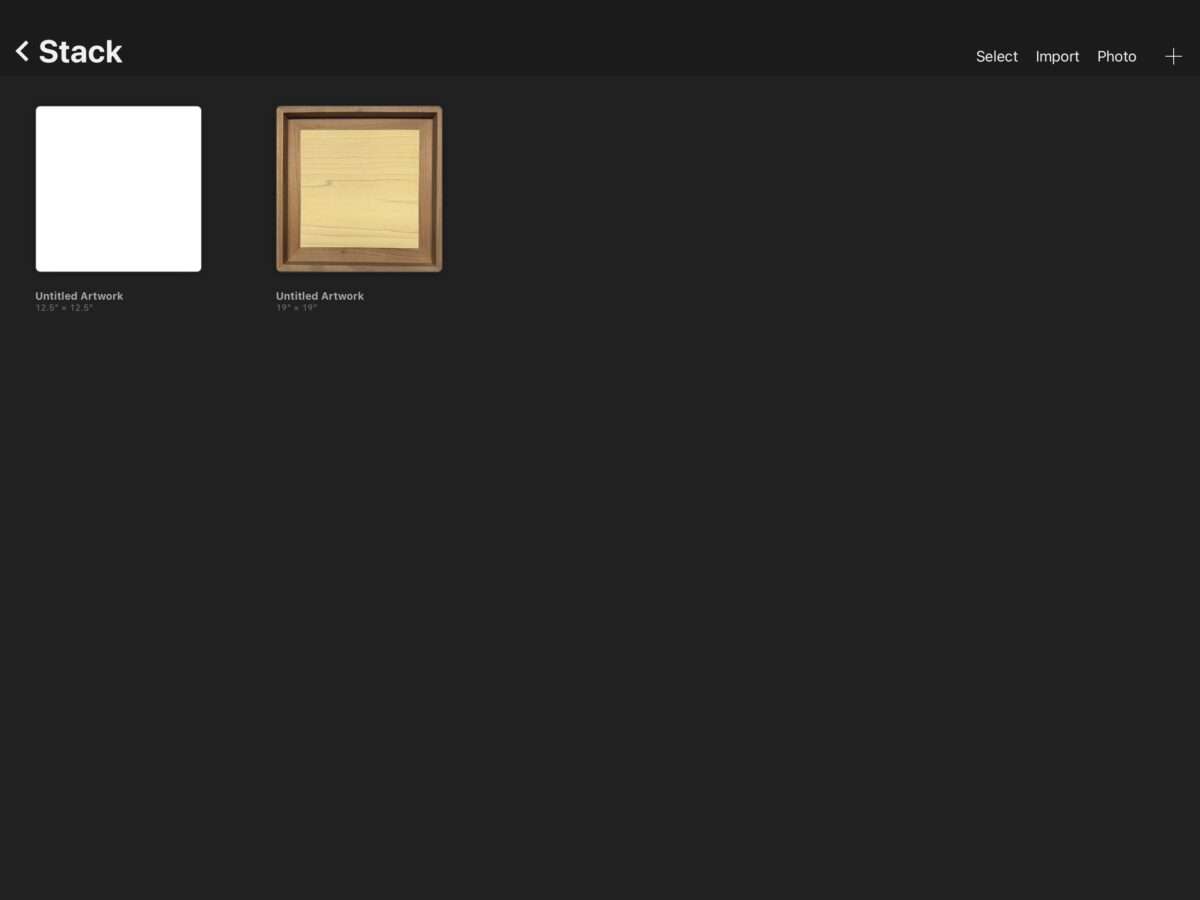
- Once I create the canvas, I will stack the imported picture with the created canvas. This keeps all the elements in one place, on the stack. It also keeps the original handy in case I need to copy it over again. It also helps if I completely destroy the picture; I can simply re-copy it to a new layer.
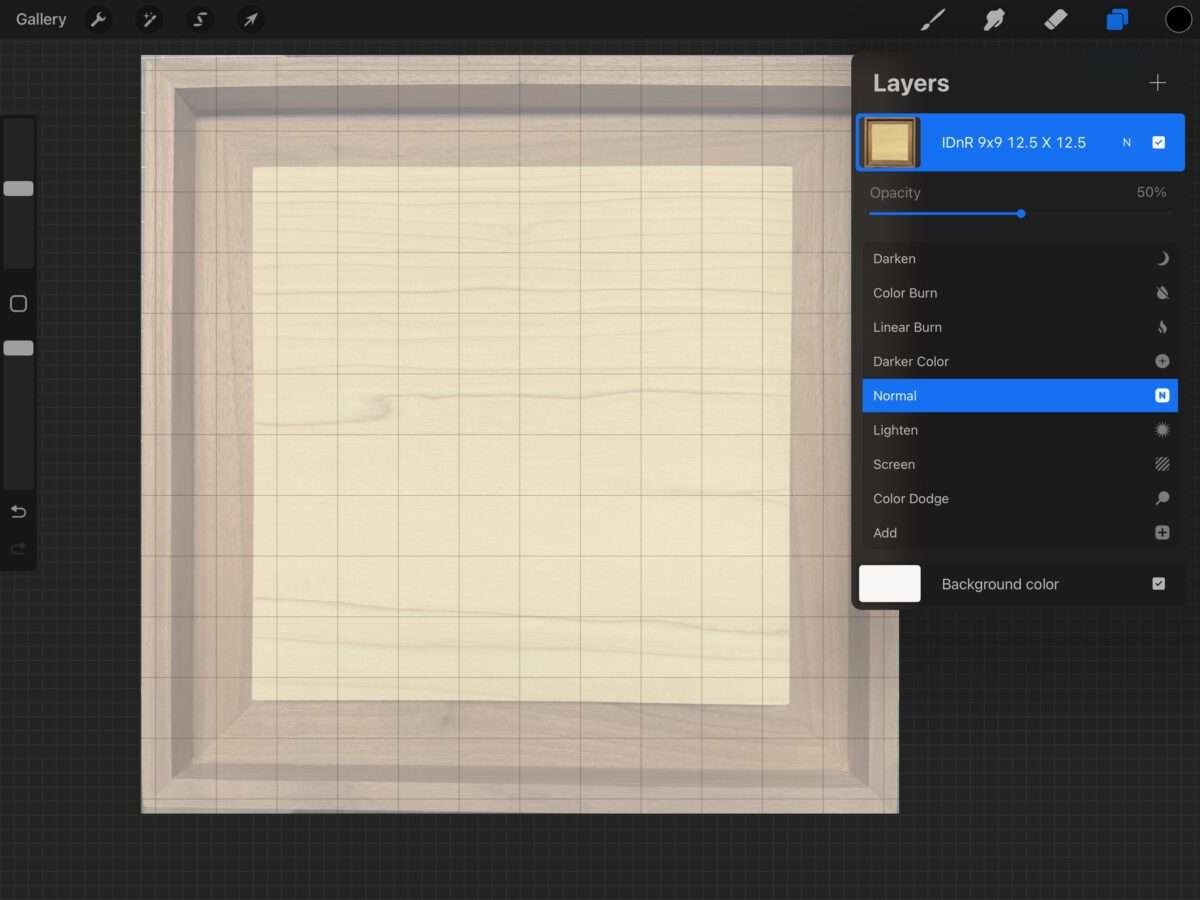
- Now I create and rename the layer on the canvas. Renaming the layer helps when navigating them so they don’t all have similar names like “layer 1, layer 2”. This particular wood canvas came from It’s David and Renee so I name it IDnR. I also label the layer name with the dimensions. Here the inner canvas is 9×9 and the frame is 12.5 x 12.5. Now I can tell, at a glance, key information about the canvas in case I forget where I got it from.
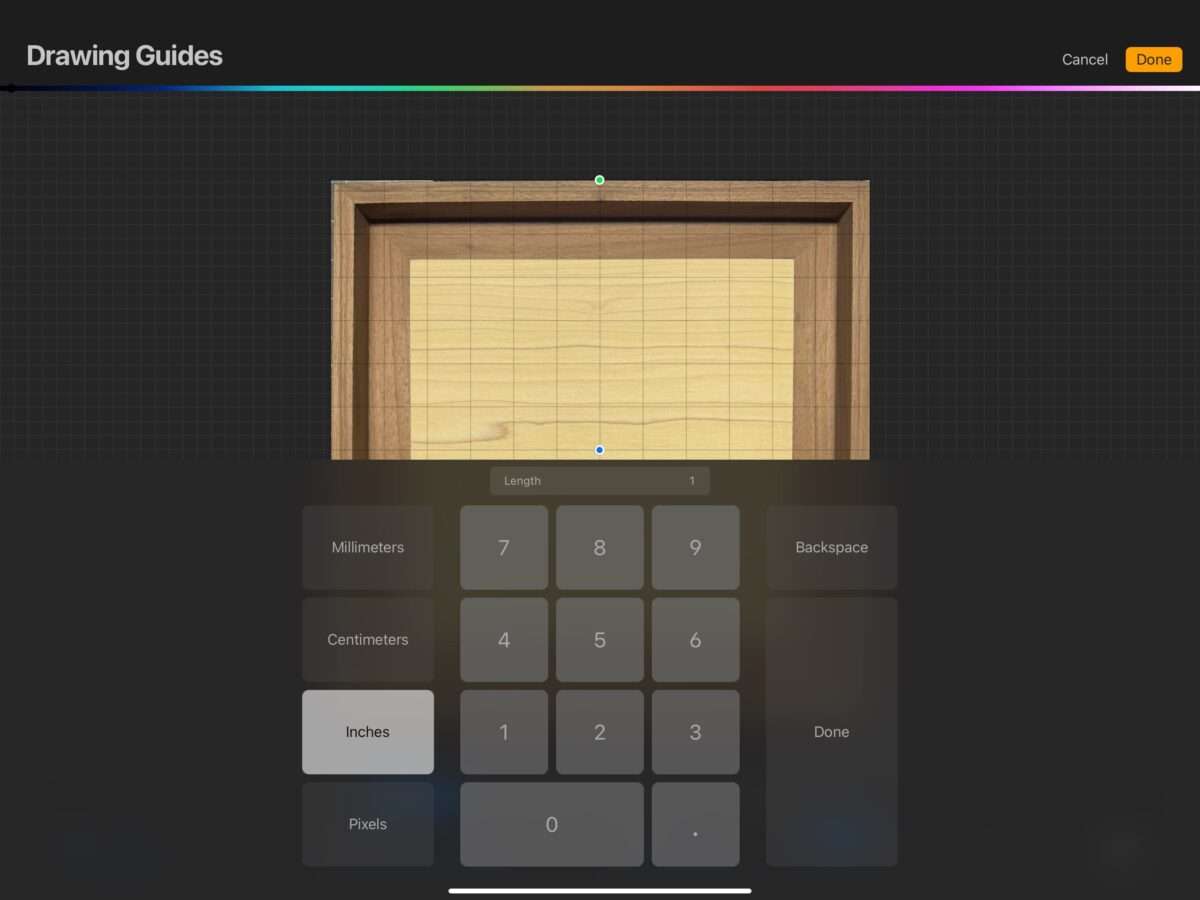
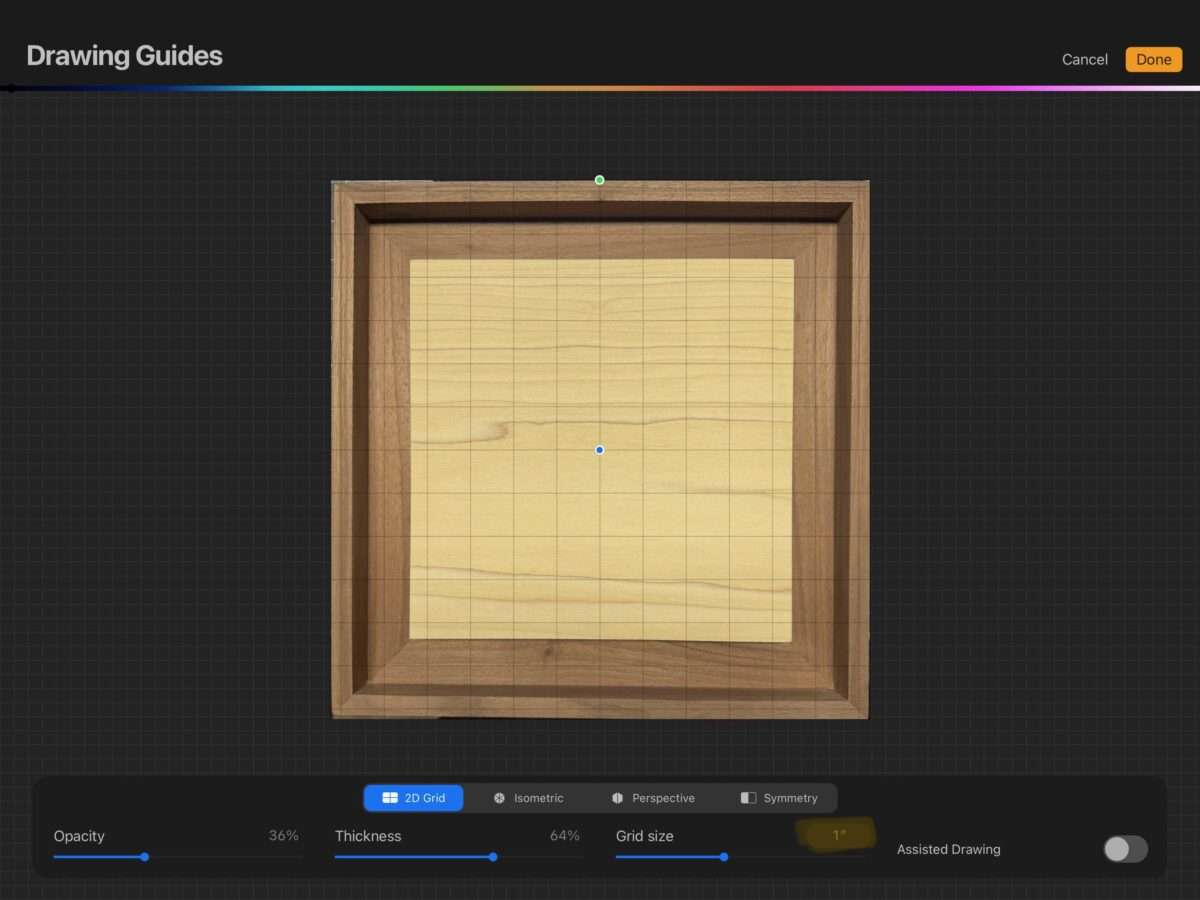
- I then create a grid to help me with sizing. To create the grid: actions > canvas > drawing guide (turn it on if you do not already have it on) > edit drawing guide > Grid Size > Inches 1 > done. You should now have a preview of a grid on the canvas. I then make sure that the grid is where I want on the picture. I arrange the grid so that it is in the exact center of your canvas. This helps laterin knowing sizes.
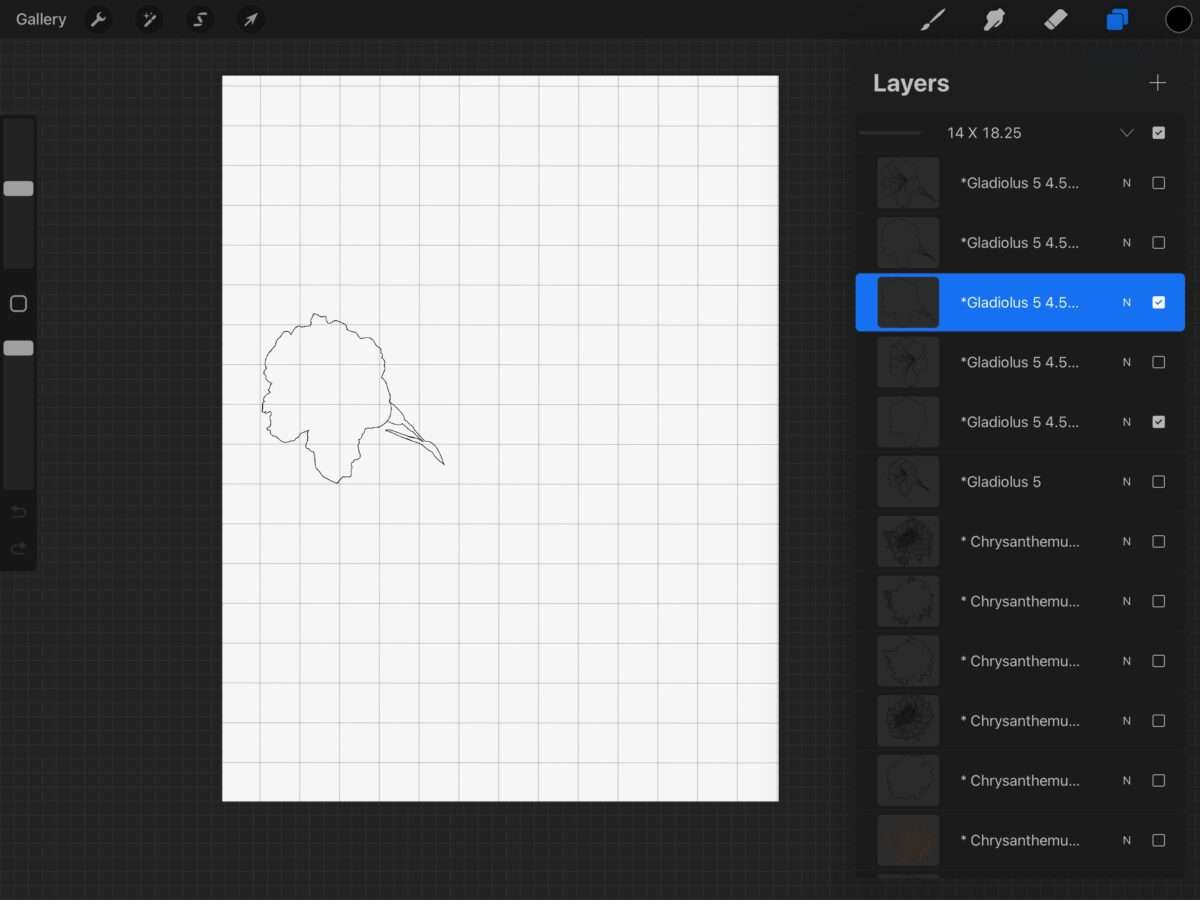
- Now that I have my canvas ready, I will add svgs, templates, pictures, stamps or whatever I plan to use for the pattern in the stack. I will put each picture, svg, and stamp element in its own layer. This is so that I can keep an original in the layers and duplicate them as needed. Protip: Get in the habit of duplicating layers before using them. This will save you frustration when you inadvertently draw/erase on the layer you didn’t mean to.
- I rename layers as I add elements to them. I put the name of the brush set and the number of the stamp. I have over 100 stamp sets and brushes. Some stamps are part of sets that are in the hundreds. It’s very time-consuming to search through all of them for a stamp I used. Naming the layer tells me exactly which stamp it is. (In the picture I also put the size of the element which makes it easier when I am printing out patterns).
- Lowering the opacity of the layer with the wood makes it easier to place the elements and create the pattern with the canvas in mind.
- I add layers and elements as I go. I never delete layers until I am closer to finishing the pattern.
Once the pattern is completed, I will save it to my cloud. It’s frustrating to lose all the work you’ve done because the program crashed, or you accidentally deleted it.
That is how I create my patterns digitally. Next week we’ll take a look at how I heat transfer my patterns so that I can start burning. What are your tools of choice for patterning? Share them with us and tag us @bz_furfur and, as always, stay unique.
