As we continue our deep dive into some of the websites we use frequently around here at BZ FurFur we knew that we would have to include Canva (https://www.canva.com/). I am not entirely sure how to describe Canva because it does quite a bit. It is part Photoshop, part campaign manager, part publishing platform. To be honest I would be surprised if I even knew a third of the things you can do on Canva’s platform. That, honestly, is kind of the beauty of it. It is one of those programs that you use with a specific purpose and then, the need for something completely different comes up, and it fits the bill.
Canva as a marketing tool
We’ll start this blog post with how Canva can be used to make marketing assets for your business. When you start marketing your business online you’ll quickly come to realize that there are so many quirks to each platform. It may be the maximum resolution for an Instagram ad or the aspect ratio of an ad on Facebook. Canva does a good job of making it easy for you to create templates that follow those conventions.
Before we go any further I want to take a quick detour into some of the terminology above. Resolution and Aspect Ratio.
Resolution is the number of dots that make up an image. Think about it this way. If I was to say an image had a resolution of 8 ppi (pixels per inch). A picture of a tree may look like this:
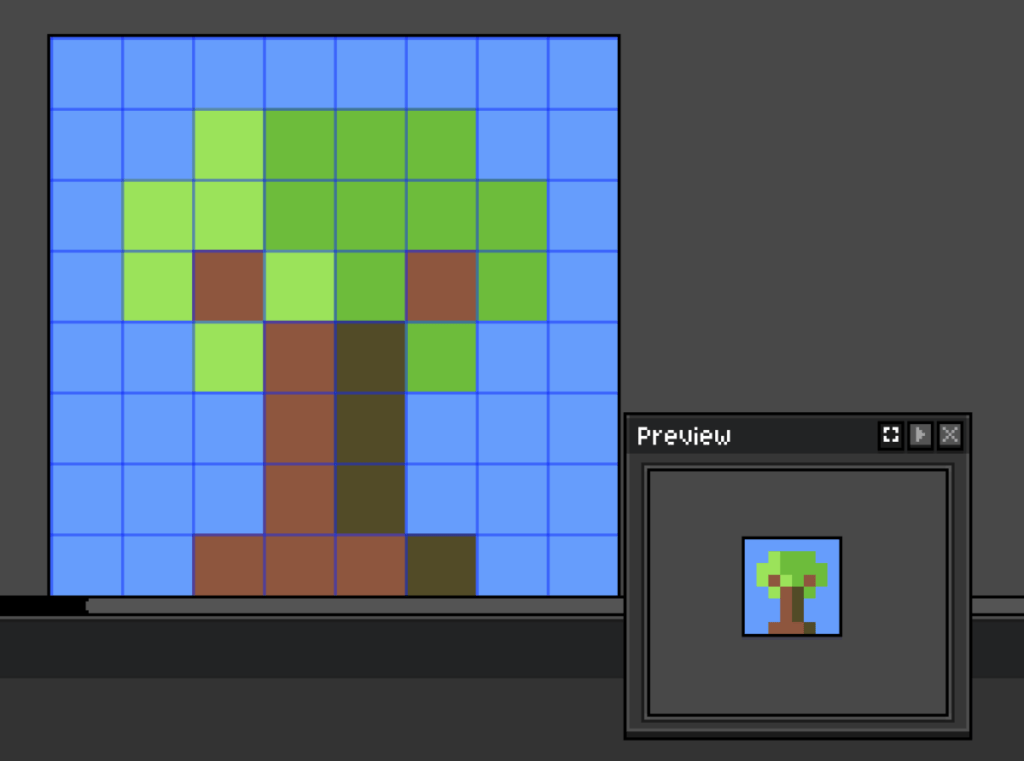
Can you tell that’s a tree? Sure, maybe with a little imagination. But a greater resolution of, say, 16 ppi will get you something richer with more detail:
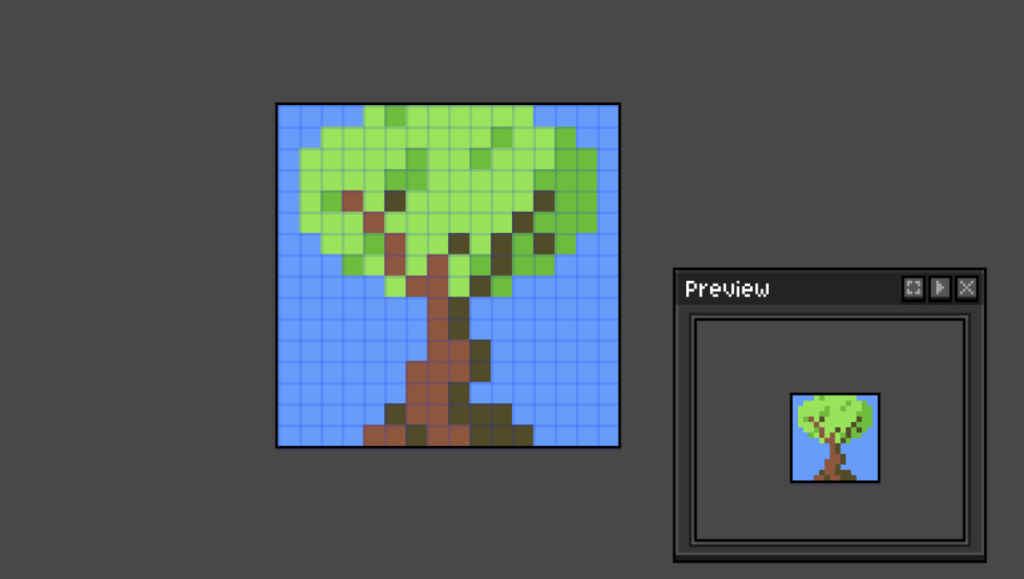
So, as you can imagine the higher the resolution the more detailed, and less blocky, the resolution is. The problem is higher resolution images also take up more memory so they can be somewhat taxing on, say, a user who’s browsing on their cell phone. This is why resolution is such an important concept to understand. You have to find that compromise between detail and performance so that your images look good but are also delivered quickly to your users.
Aspect Ratio is the relationship between the width of your image and the height of your image. Depending on where you are going to be publishing an image the aspect ratio can play a huge part. Pinterest, for instance, has very specific guidelines for its aspect ratio (2:3 aspect ratio). A Facebook banner, however, has a 16:9 aspect ratio. So, what the heck does that mean? Let’s look at some examples.
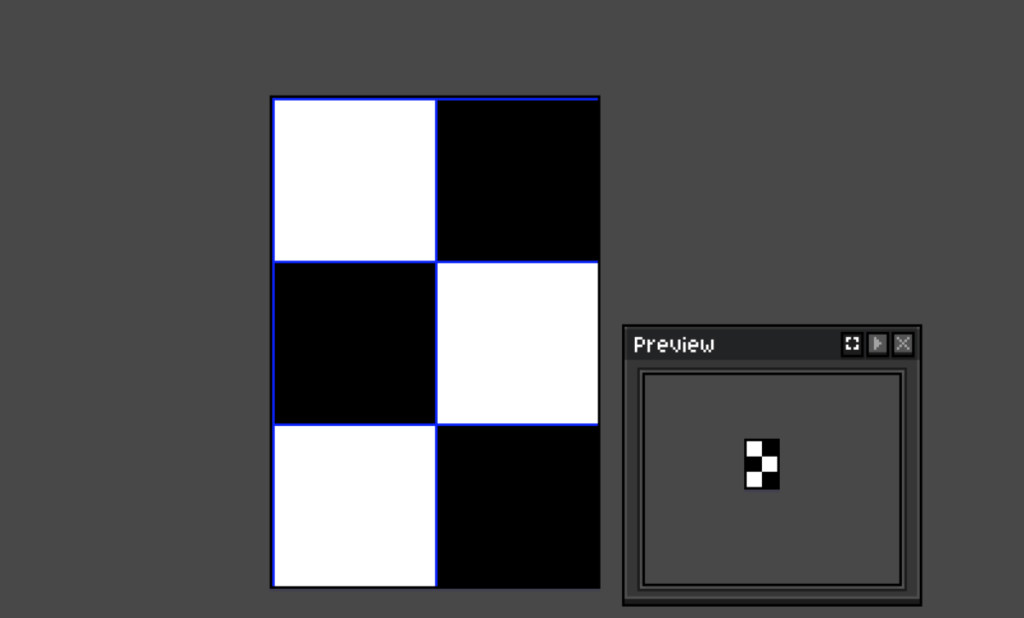
This is the smallest example of a 2:3 aspect ratio. It is two pixels across, three down. If we wanted to make this four times bigger:
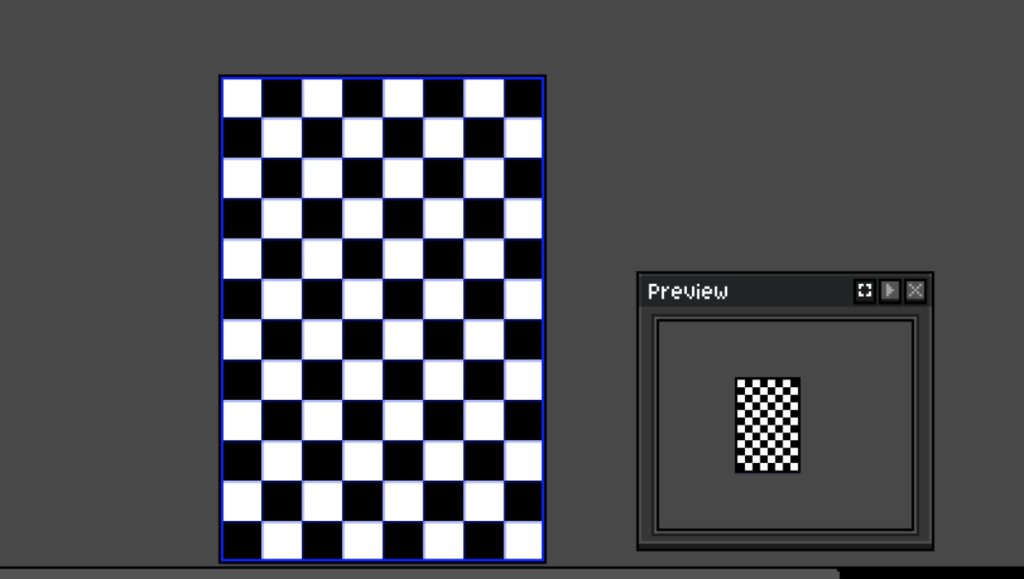
It is now 8:12 which is also a 2:3 aspect ratio. The same goes for an aspect ratio where the width is greater than the height as in the Facebook banner example
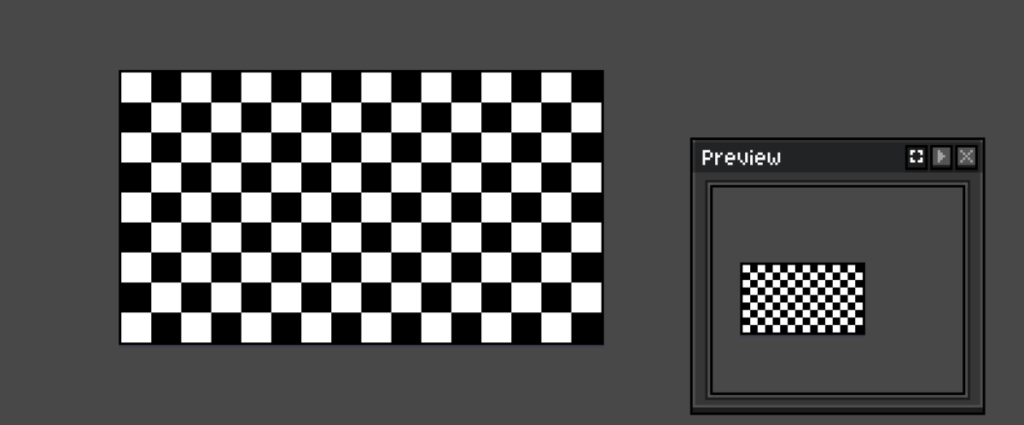
This is 16 pixels across and 9 down. Therefore if you have an image that is 1600 pixels wide it would need to be 900 pixels tall. The reason these dimensions are so important is that they are optimized to display on different-size monitors, multiple devices, and several form factors. It keeps images from either being skewed to be in weird dimensions or getting unnecessary. Imagine you have a square image and Facebook crops that image and you lose half of your beautiful artwork in your post. Not a good look.
Now that you understand that you can much more easily pick the correct dimensions when your creating your social media posts and ads in Canva. In Canva click Create a Design and select Instagram Story
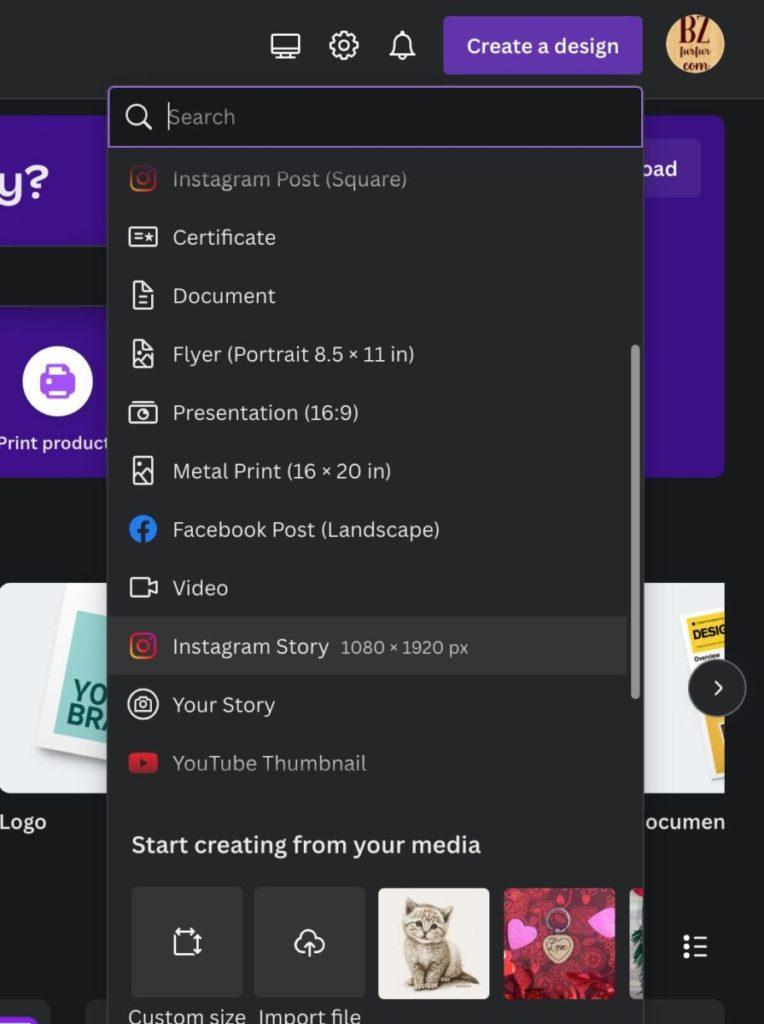
Notice next to Instagram Story it says 1080 x 1920 px. That is the resolution. Canva already knows what the optimal resolution is for a particular medium so it is usually best to leave those values alone. You’ll then be placed on Canva’s editor. Here you will be able to either create something from scratch or use one of their premade templates. We’re going to make a post for BZ FurFur so we’re going to use our own image. We can upload an image from our desktop by clicking upload and upload files
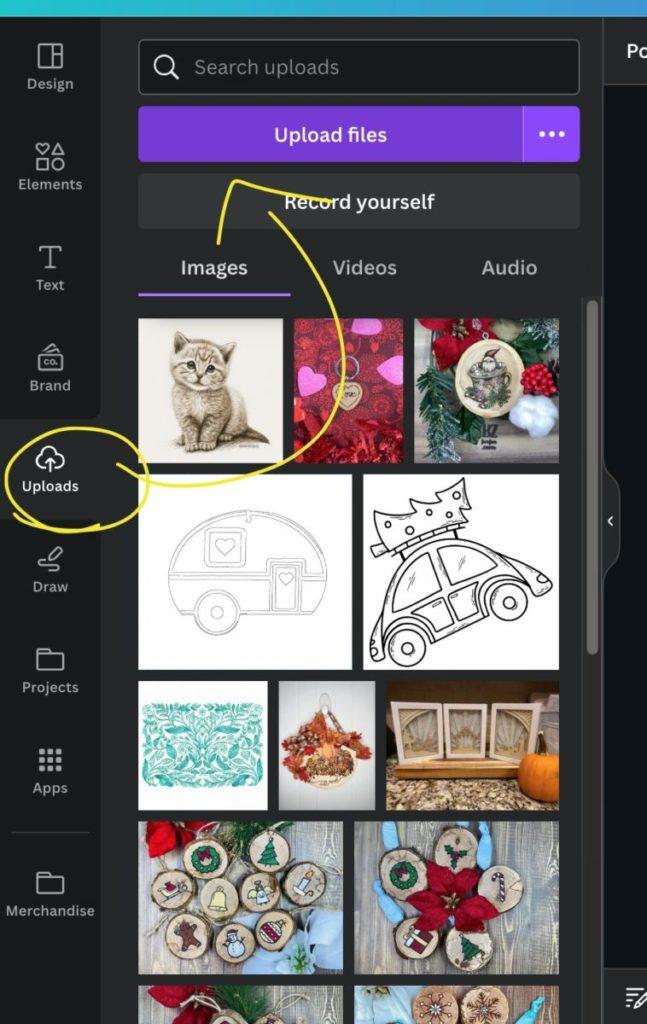
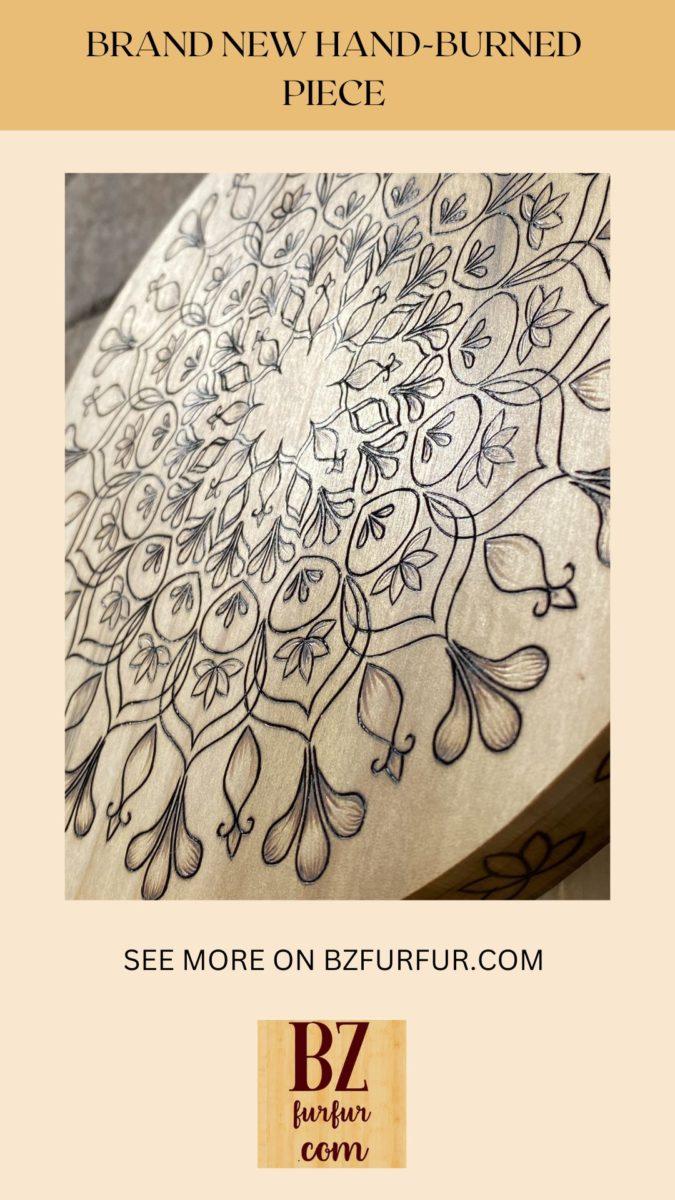
We’ll select an image from our computer and it’ll show up in our Images which can then be placed into our post. Let’s add a shot of one of my latest pieces:
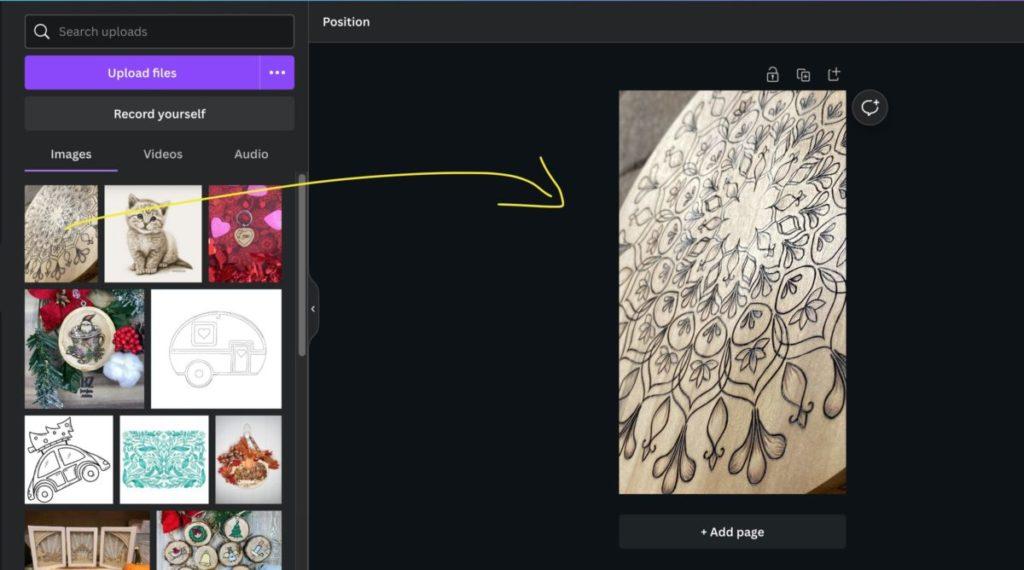
Drag and drop the image into the right-hand pane and it’ll put it in a default position. Resize and reposition it until you have the look you want. Experiment with adding text and elements to make a unique and inspirational post. Use the guides when you are moving/resizing things which will help you with the placement of your pictures so that they are spaced evenly apart and match widths and heights
Here is what our post looks like:
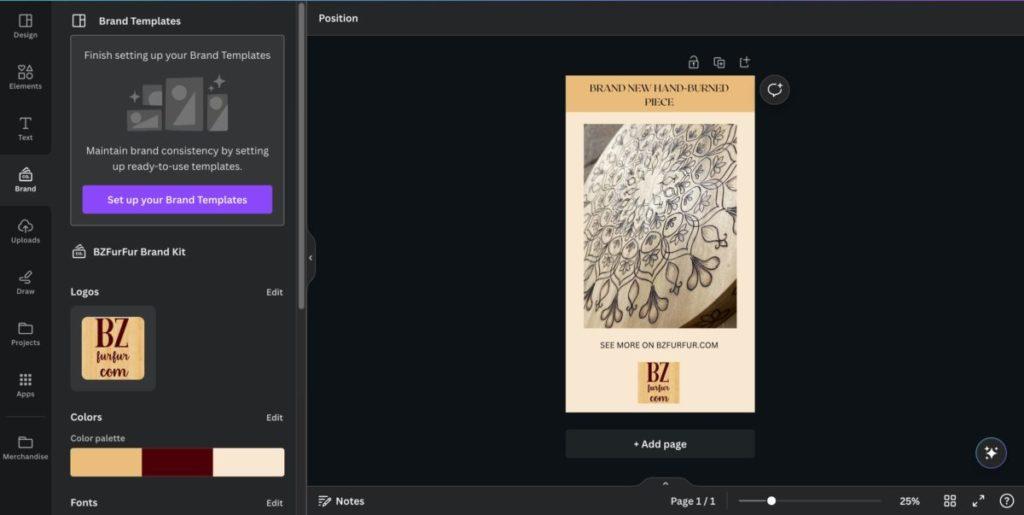
I want to call out a few things:
- We have our logo in Canva in our brand toolkit. This allows us to quickly and easily place our logo on any of our images.
- We set up a color palette in our brand kit. When we add shapes and assets to our pages they will select from a palette of colors that correspond with our branding making all of our posts look uniform and consistent.
- Placing a new element on the workspace may cover an existing element. Whenever you have something selected, at the top of the screen, you will see a button that says position which will allow you to move things forward and back so that all of your elements will be properly “stacked”.
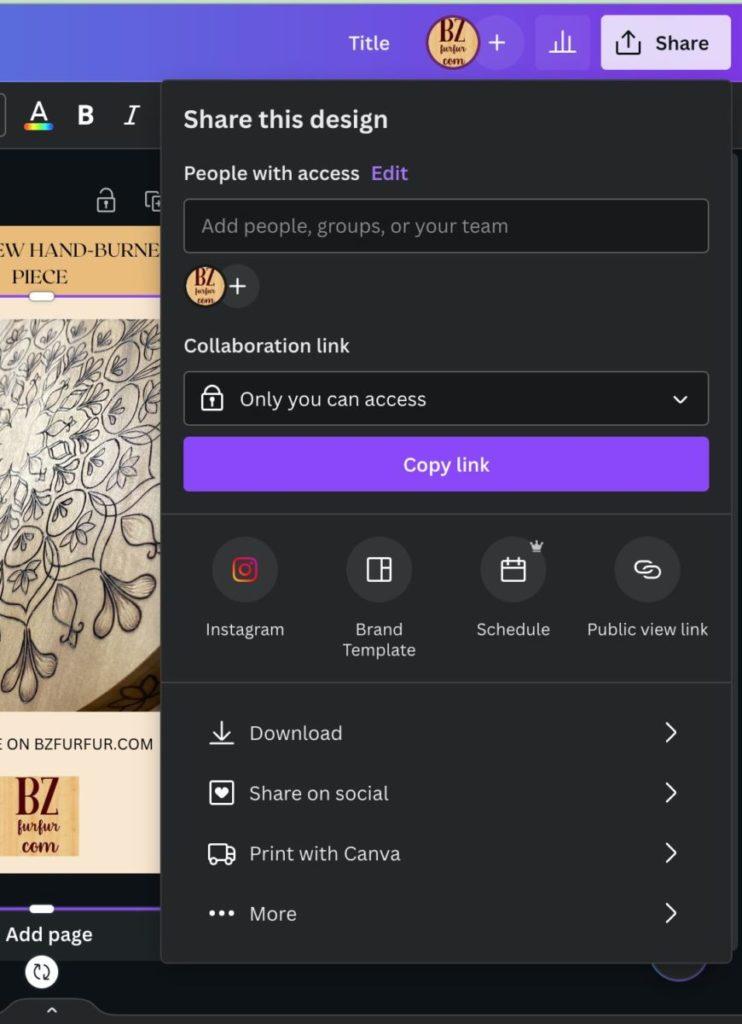
Once you are done you can save this project. I highly recommend saving all of your projects so you can use them as templates and go back to them frequently with new images, new text, etc. Finally, you can click on the share button which will allow you to publish your work to social media, or download it so you can post it wherever you like (just remember, this was optimized for Instagram so if you are going to post somewhere else you may want to re-work this using the appropriate template).
Hopefully, this gets you excited about using Canva as a creative tool for your business. There is plenty more you can do so start exploring. Remember to tag us with your creations and, as always, stay unique.