Last week we talked about ProCreate and how to edit images on the iPad. Today we’re going to look at editing images on your laptop. The intent is to get you familiar with these tools and how they can improve your overall workflow as a creative working in different media, including non-digital. Learning these tools, while time-consuming and, at times, frustrating, can significantly improve your overall final product. If you are a purist, and you know if you are, then this is probably not for you. But if you are looking for ways to make beautiful art more efficiently I suggest reading further. You may find some great tips and tricks.
Why Should I Learn These Tools?
Over the next few weeks, Zona has asked me, Brian, to write the blog. I will often help with this side of the house because she is busy creating. This time, however, it is because we will be talking about digital image editing, which is a uniquely “me” thing, hence, she’ll typically “outsource” that work to me. Before we dive into it, though, let’s talk about workflows and where digital tools fit into a maker’s toolbox.
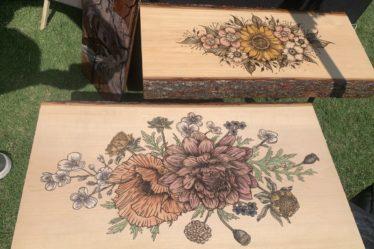
- Getting proper measurements for your design. When Zona is getting ready to start a burn making sure that she is giving herself ample room on her canvas is of the utmost importance. If you start in the wrong spot or use the wrong scale that piece can end up ruined. Fixing a mistake after you have already started a burn is no small task.
- It is important to be realistic about how much you can fit on your canvas. Sometimes you get a little overzealous and plan to make a very elaborate piece on a small-ish canvas and it isn’t evident until you start to burn that not everything is going to fit nicely. Being able to crop and focus in on key areas can give you a much more realistic template to work with
- Often times we have source images (scans, images, logos) that aren’t perfect and need to be cleaned up. Getting rid of artifacts, cleaning up rough lines, and adjusting contrast can give you a much cleaner template to work off of.
These are just a few reasons why doing some pre-work on your images before you start working on your physical medium is a huge benefit. So, what software can we use to accomplish this you ask? Let me start by saying: that I am a Mac user. If you use Windows or Chromebook some of this software may work slightly differently or may not be available. Don’t stress: There are plenty of alternatives if you take the time to look. If you have your favorite software that you use tag us @bz_furfur and let us know and we’ll include it for others.
Editing with Preview
Generally, when Zona asks me to process an image I try to take the lazy way first if possible. Say, for instance, she has an image and she just wants to make it fit on a rectangular canvas. That’s pretty easy. I’ll just open the image in Mac’s build Preview tool:
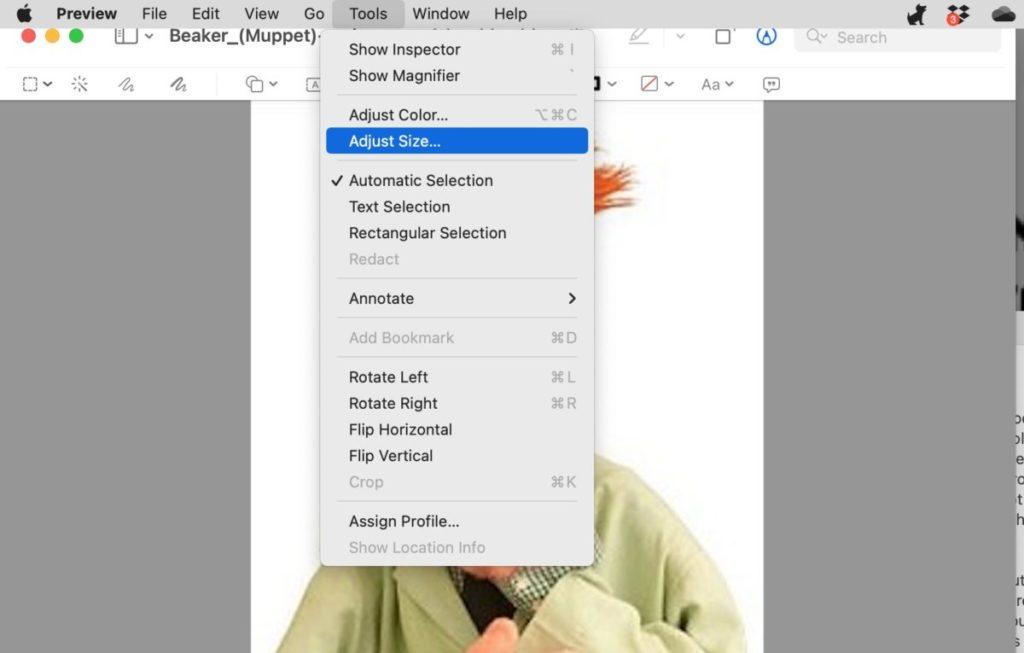
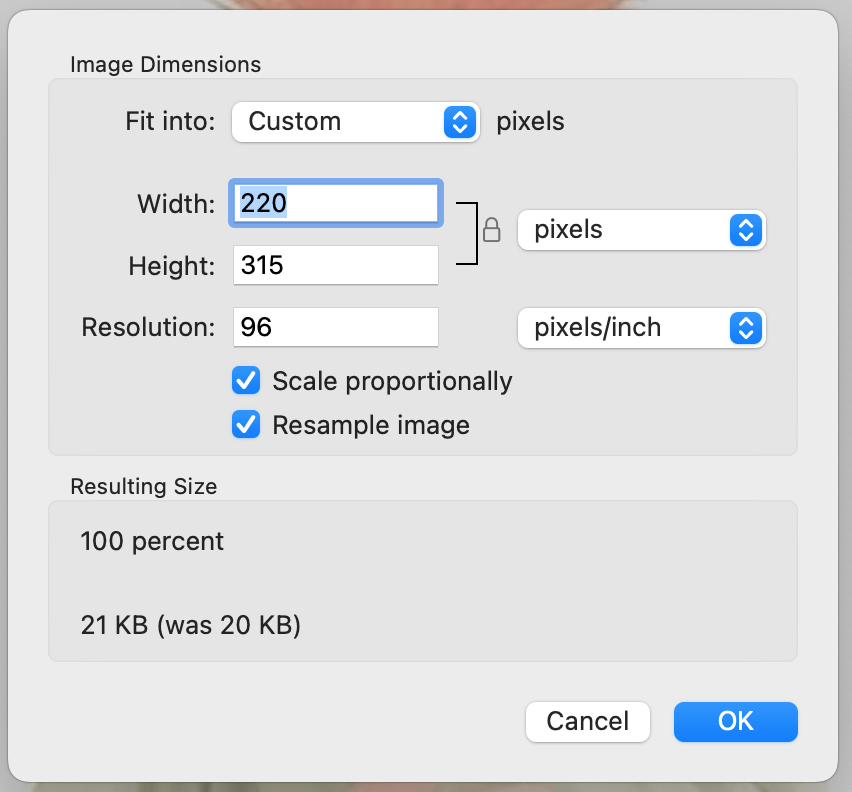
A couple of things to note here.
- It is going to default to pixels. If you are trying to measure it out to fit a canvas you probably don’t want pixels, you want inches.
- You’ll notice that there is a checkbox for Scale Proportionally. You are always going to want to leave this selected. This means that if you increase the width it’ll increase the height proportionally and vice versa. If you uncheck this the software will allow you to change the height and width independently but, nine times out of ten this is not what you want because it is going to skew your image.
- Making an image’s dimensions smaller is usually not an issue but making them larger can be. Most image files you are working with in preview (png, gif, jpg) are what we call raster images. Which means they are an array of pixels. So making a small image larger can result in a huge loss of fidelity (quality) in the image quality. If you are working with SVGs this is not a problem as they scale up and down but, if you are working with SVGs, you are talking about an entirely different toolset.
So this is great if you have an image that fits nicely on your canvas. But, let’s say for instance you have a square canvas and the source image is rectangular. For this you would need to crop your image.
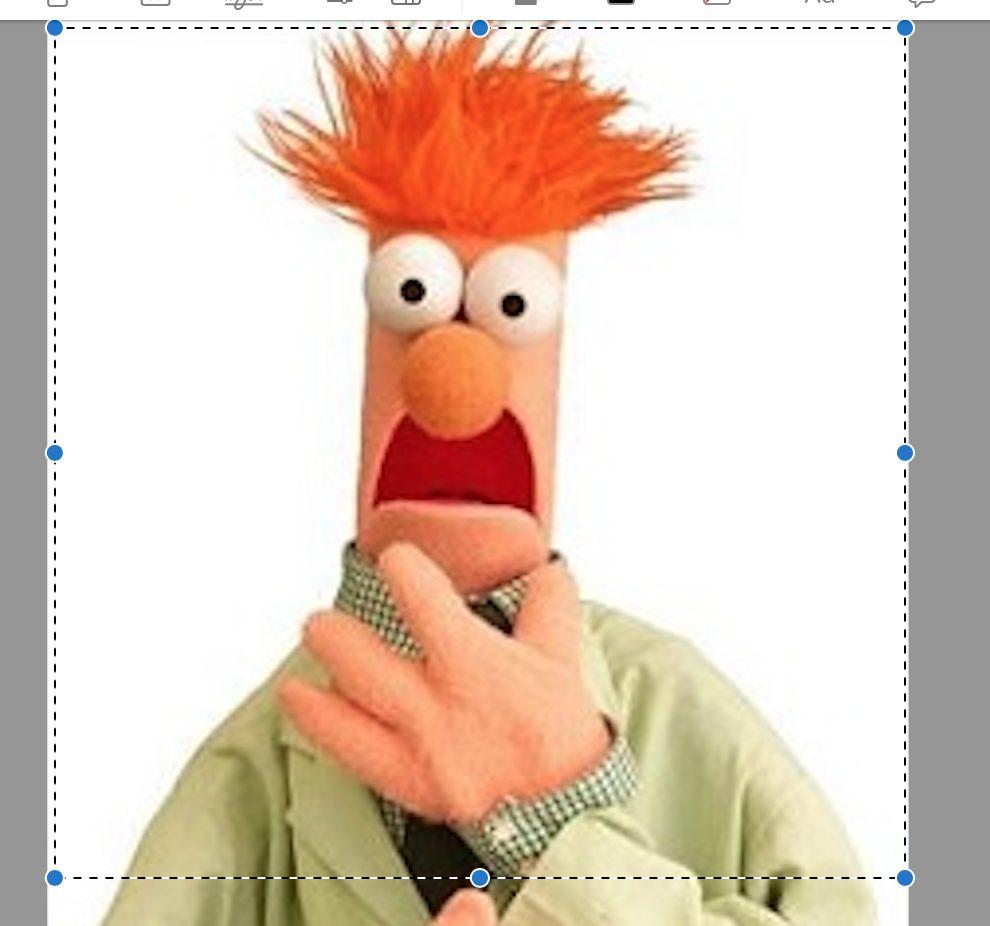
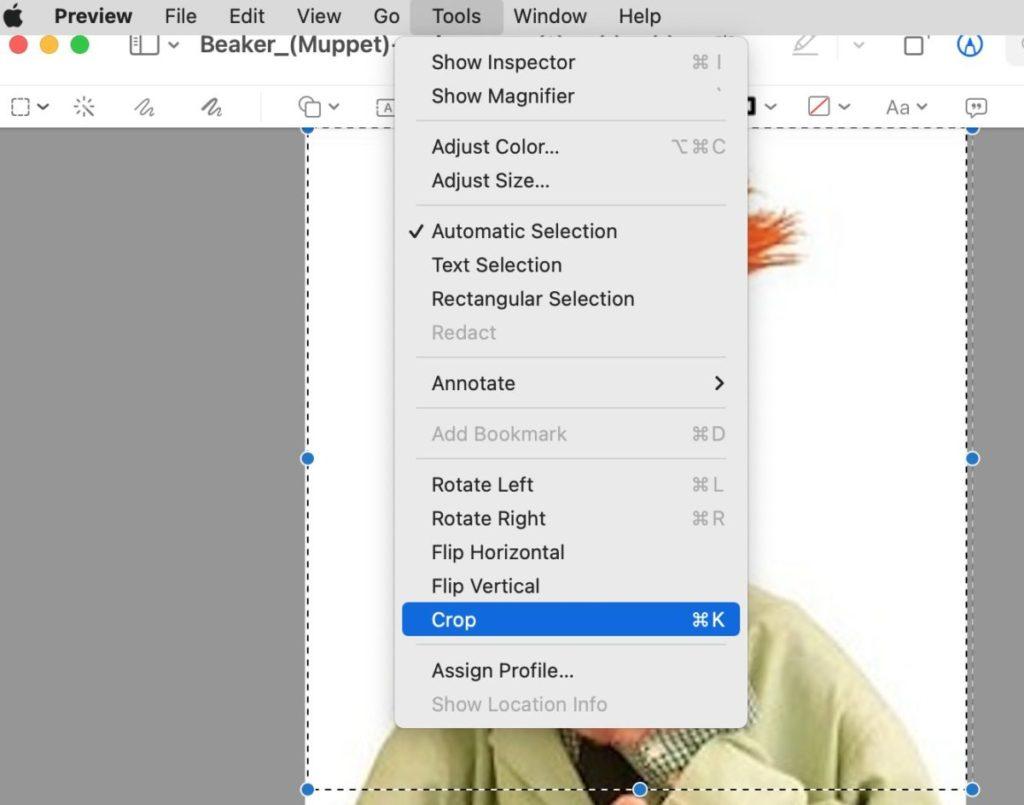
- Select the portion of the image you want to crop. You’ll see a tooltip in the lower right hand corner of your selection area telling you with width and hight so you can make sure you get the correct dimensions.
- Select Tools > crop
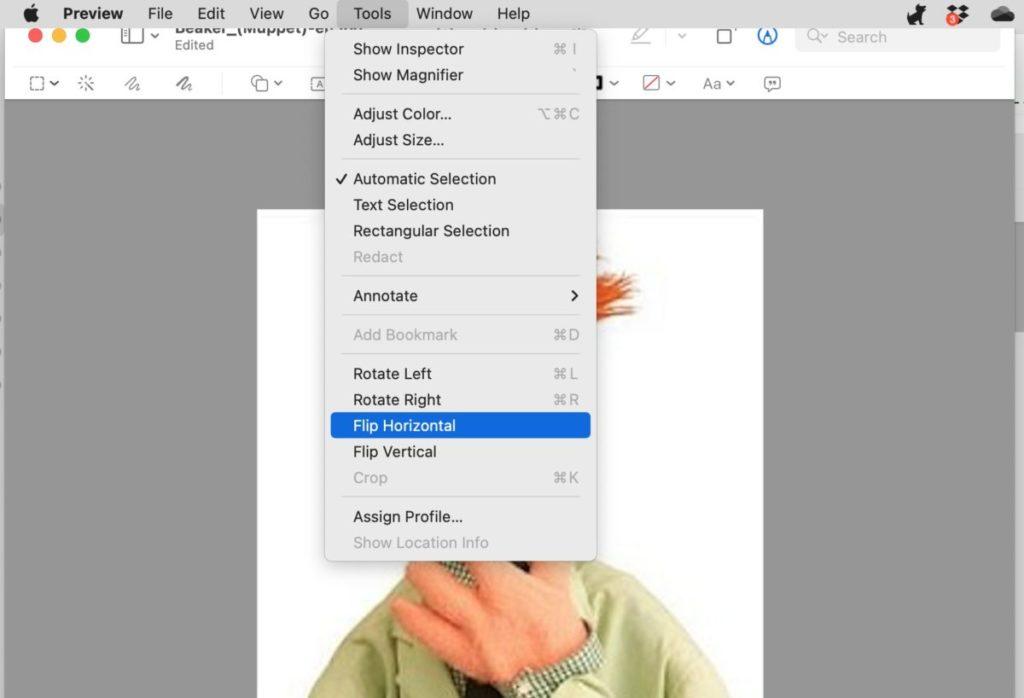
The last thing that can come in handy is to flip the image horizontally. On just about every image that Zona burns she likes to print out the mirror image with the laser printer so that she can heat transfer the image onto the wood to use as a guide. In tools > flip horizontal you can do that in one step giving you a perfect mirror image.
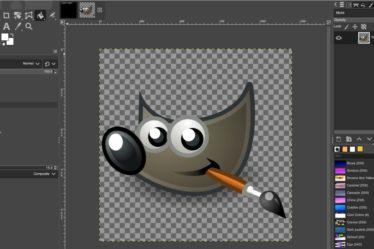
With these three tools I am able to do a fairly large portion of the basic image manipulation that is necessary to prep for burning. Next week we’ll get into a bit more detail by looking at Gimp and how we can do some more sophisticated image manipulation. Until then, happy editing and stay unique.