
Hey gang. It’s almost Halloween and we at BZ FurFur love this time of year. From the scary movies to the costumes, and the overall spooky vibe. This year we’ll actually be doing our first Halloween-centric market (Geek and Grub Halloween Edition in Raleigh) which we have really been looking forward to. In preparation for the market we have been working on lots of creepy, crawly pieces so we thought this week we would give you our five tips for creating Halloween wood burns.
Torching
There is no better way to give a piece a worn and weathered look than to torch the crap out of it. For this technique, you are going to need a butane torch. There are two different kinds, the standard torch and the pen torch. I use a standard torch but either will do as long as it allows you to adjust the flame. This will give you better control: a lower flame will give you a smaller tip. With a smaller tip, you can work closer in and get better control in confined spaces. A larger flame will have to be held further away making it less precise but is great for bigger pieces.
Big sweeping motions will lightly burn the wood giving it a brownish tinge. With slower motions you will get more of a char but, if you go too slow, it will leave divots. You want to only burn the surface of the wood. Be conscious of the type of wood as well. A softer wood will burn at a lower heat whereas harder woods will need more heat or more exposure to the flame. The general rule of thumb: The higher the heat you would set your pyrography pen for the wood, the higher the heat you’ll need to torch that sucker.
Shading
When composing a Halloween piece it is critical that you get the right sensibility. This can be accomplished through shading with effects like smoke and shadows. It will also give your piece depth making it feel more immersive. Good shading is going to take a lot of time since it requires a lower heat and more passes of your pen. You want to get that ombre effect where it starts very dark and gets progressively lighter. Remember, if you start light, you can always burn darker. It doesn’t work inversely, if you burn to dark you can’t lighten it.
Also, consider your light sources and be consistent. Choose your light source for your piece from the beginning and make sure that is the brightest area. Add your shading to those areas that would be blocked from the light. This is where models come in handy. You can also use pictures online to get an idea of where shadows would lie.
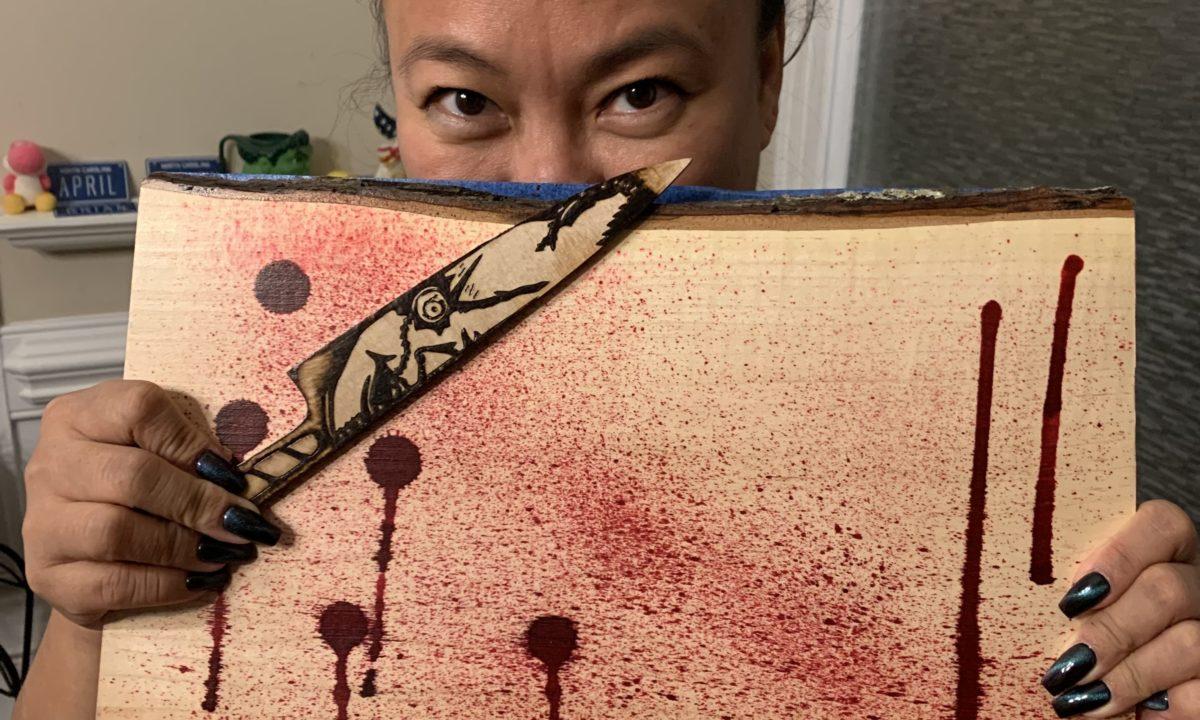
Blood Splatter
What Halloween piece is worth its salt if doesn’t have a little blood. For this technique, you are going to need a toothbrush and an eye-dropper. Any paint that isn’t too viscous will do but I like to use fountain pen ink. I have a dark burgundy color called Ox Blood that works perfectly. Start by protecting your surface. A shower curtain from the dollar store will do. Set up a paper plate to put a few drops of the ink on and dip a hard bristle toothbrush in it. Lean your canvas to stand it up and, with gloves, run your thumb over the bristles to spray the ink onto the wood.
Once you are satisfied with the spray fill the dropper with ink, raise it above your head, and let it drop onto the piece. Lift it up before it dries completely so that its wet spots will continue to drip down the wood. Finally, to seal it use spray polycrylic. Brush-on poly will smear. Sealing it is a critical step because, if you don’t, it will run if it gets wet.
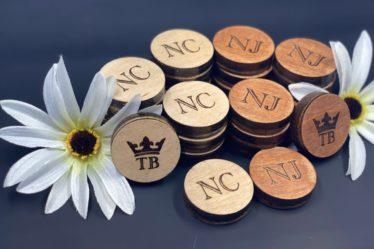
Canvas
Different wood shapes can make for interesting canvases. Some wood suppliers offer pre-cut seasonal or holiday-specific shapes. Things like butcher knives, tombstones, coffins, and pumpkins are all great canvases to work with for Halloween. They do tend to be on the smaller side and oddly shaped so you may not be able to rest your arm on the piece while you work. Use a handrest while you are working to keep your hand level with the canvas. Remember, not every pattern you choose is going to look great in this format. Look for patterns that are the same or similar in shape to the wood which will make it easier to transfer to the canvas.
Luminescence
More likely than not your pieces are going to be displayed in the dark. Plenty of sellers sell glow-in-the-dark paint that will illuminate your work. Personally, I like to make my own. For this, you will need a glow-in-the-dark pigment, mica pigment, and watercolor pigment binder. Mix them together with a muller and let it dry. Remember not to overdo it. The idea is to try to highlight those specific portions of the piece that you want to focus the observer’s attention on. Subtelty is key.
That’s it for our five Halloween tips. Be sure to tag us @bz_furfur with your pieces. We want to see all the spooky ideas you come up with.
I am genuinely amazed by your deep insights and excellent writing style. The knowledge you share shines through in each paragraph. It’s clear that you spend considerable time into understanding your topics, and that effort does not go unnoticed. Thank you for sharing this valuable knowledge. Continue the excellent job! https://www.elevenviral.com
I’m truly impressed with your keen analysis and excellent writing style. The knowledge you share shines through in every piece you write. It’s obvious that you put a lot of effort into understanding your topics, and that effort pays off. Thank you for sharing such valuable insights. Keep up the great work! https://www.elevenviral.com