
One of the questions I often get is about how I get hand burn pieces using images on the computer. When I tell people it is using a laser printer, I’m not going to lie, I get quite a few puzzled looks. It is not intuitive how you can go from a digital image to wood using a laser printer. Let me explain how my process works in four simple steps: Process, Print, Transfer, and Burn.
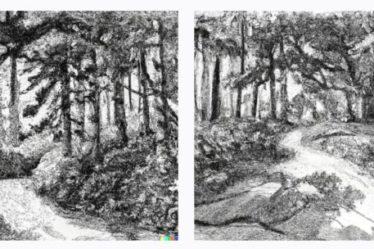
Step 1: Process Let’s start with how we get an image ready to be burned. Let’s say we have a file, which could be a .svg, .png, or a .jpg, that I want to burn into a piece of wood. There is a wonderful tool, Rapid Resizer (https://www.rapidresizer.com), that can import your image and turn it into a pattern. It will convert it to a black-and-white line pattern. You can then invert the pattern so it is facing correctly when you transfer it, fine-tune the pattern, and align it to the size of your wood.
Step 2: Print. I use the print feature in Rapid Resizer to send the image to my laser printer. Ours is a Brother L-2395DW, but any laser printer should do. Now here is where the magic happens. Toner is actually a powder made from granulated plastics and it is heat-activated. The printing drum heats up the toner and transfers it onto the paper. This is important because this is the same process we are going to use in the next step. As far as the type of paper to use, the one made for laser printers is best as it holds the toner better, but you can use regular multi-purpose paper as well.
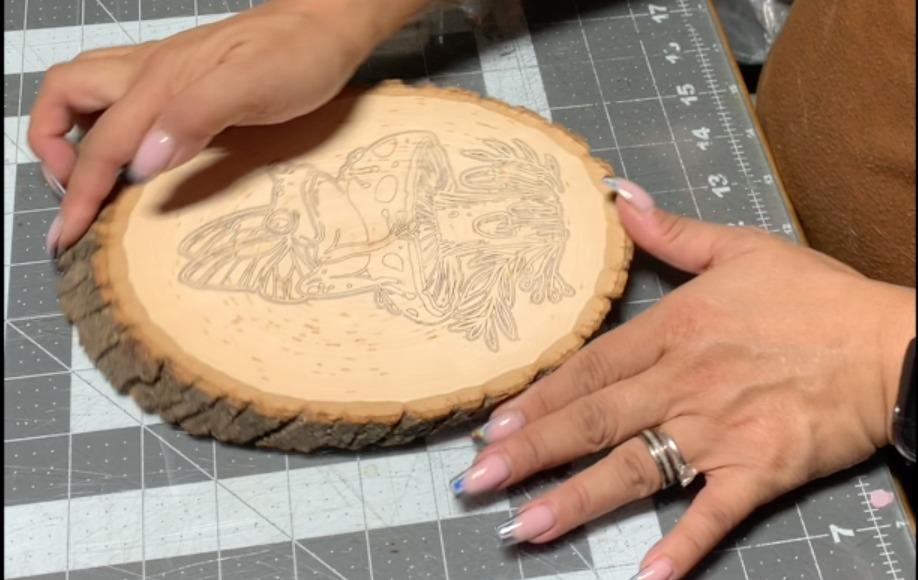
Step 3: Transfer. Now that we have our inverted image printed on our paper we want to transfer it onto wood so we have a pattern to trace. By aligning the paper to the wood I use a walnut hollow Versatool with a heat transfer tip and, basically, iron on the pattern. Applying heat to the back of the paper will activate the toner in the same way the printing drum activates the toner turning it back to a powder. This powder will “stick” to the wood leaving the, now properly inverted, image for us to burn.
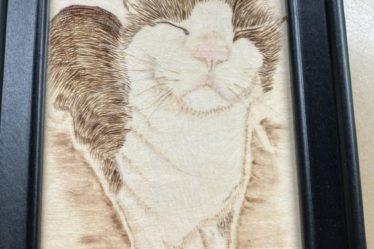
Step 4: Burn. That is pretty much it. You now have a perfect copy of your digital image on your wood to use as a stencil to burn. You can trace the basic pattern before adding in all your flourishes and embellishments.
That is pretty much the whole process for getting digital images to handburned pieces. This is great if you have images that you purchased and want to hand-burn them or if you create digital art yourself and want to transfer it. That’s it for today. Thanks for reading and we’ll see you next time.

Thank you for your articles. They are very helpful to me. May I ask you a question?
Sure! What can we help you with?
The articles you write help me a lot and I like the topic
Thank you for being of assistance to me. I really loved this article.
Please tell me more about your excellent articles
Thanks for posting. I really enjoyed reading it, especially because it addressed my problem. It helped me a lot and I hope it will help others too.