After several years of doing pyrography, it never fails to surprise me all the things I have learned along the way. Below are five tools (and one bonus tool) that have been indispensable to me as an artist. If you are new to wood-burning, or even if you are a seasoned pro, I hope these help make your life easier.
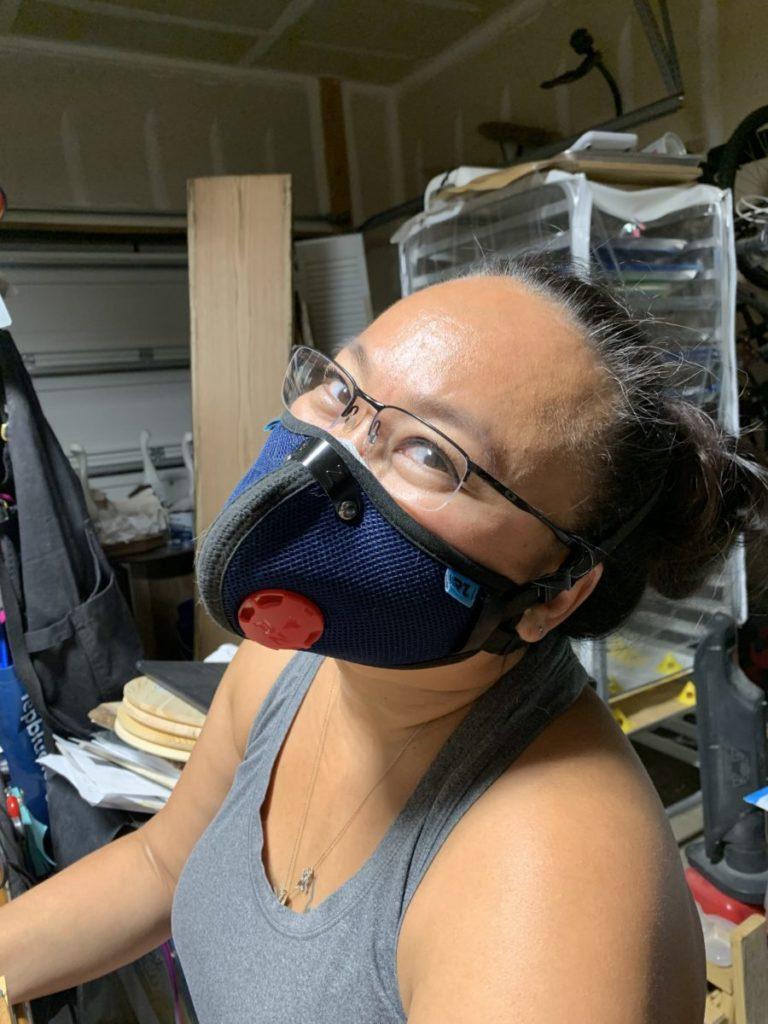
RZ Mask – When I first started woodburning I used to get headaches all the time. After hearing someone speak at a pyro summit I learned that it could have been from inhaling smoke. Since then I have used a mask whenever I burn. RZ masks have been my go-to as they are easy to find both online and in-store. What I love about RZ is that they have replaceable filters, they are washable, and filters are not that expensive. They also have regular and high airflow filters. The high airflow is excellent if you are burning for an extended period of time especially if you have respiratory issues.
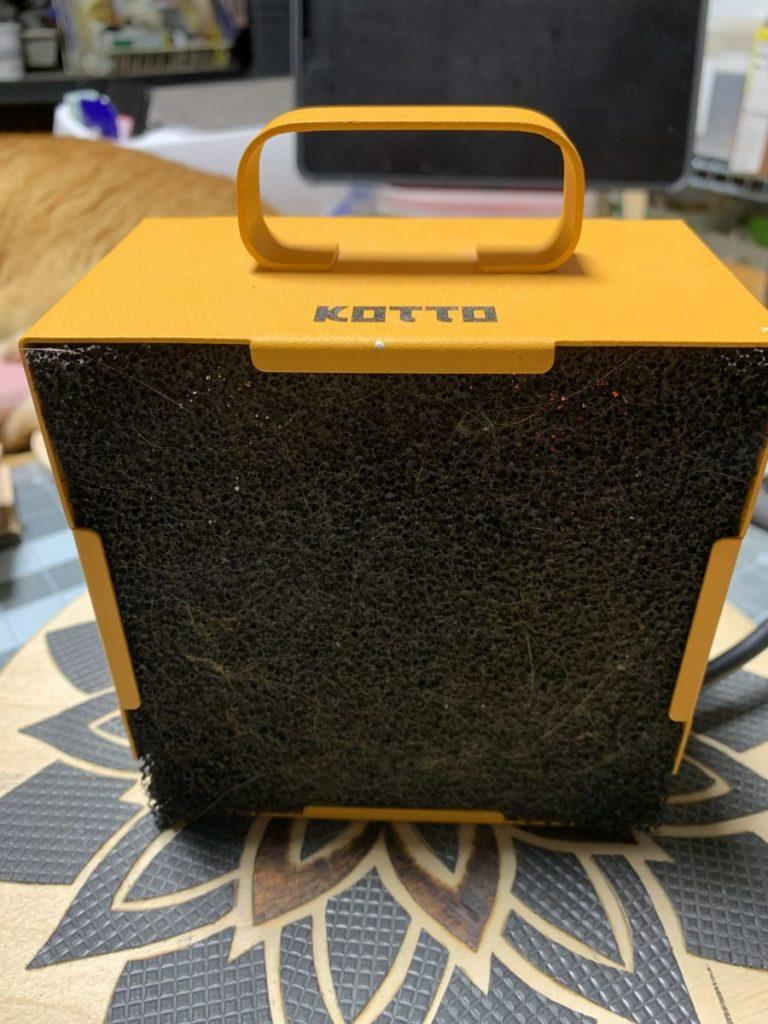
Kotto Fan: Speaking of lung safety, in addition to a mask, I always keep my Kotto fan running and it pulls smoke away from my workspace. It lessens the chance of me breathing it in. What I like about this fan in particular is that it has a replaceable carbon filter, it’s cost-effective, it’s quiet, and it’s portable. This is advantageous when I am burning for customers on-site. The Kotto fan only has one speed but I generally don’t find myself needing any faster / slower speeds.
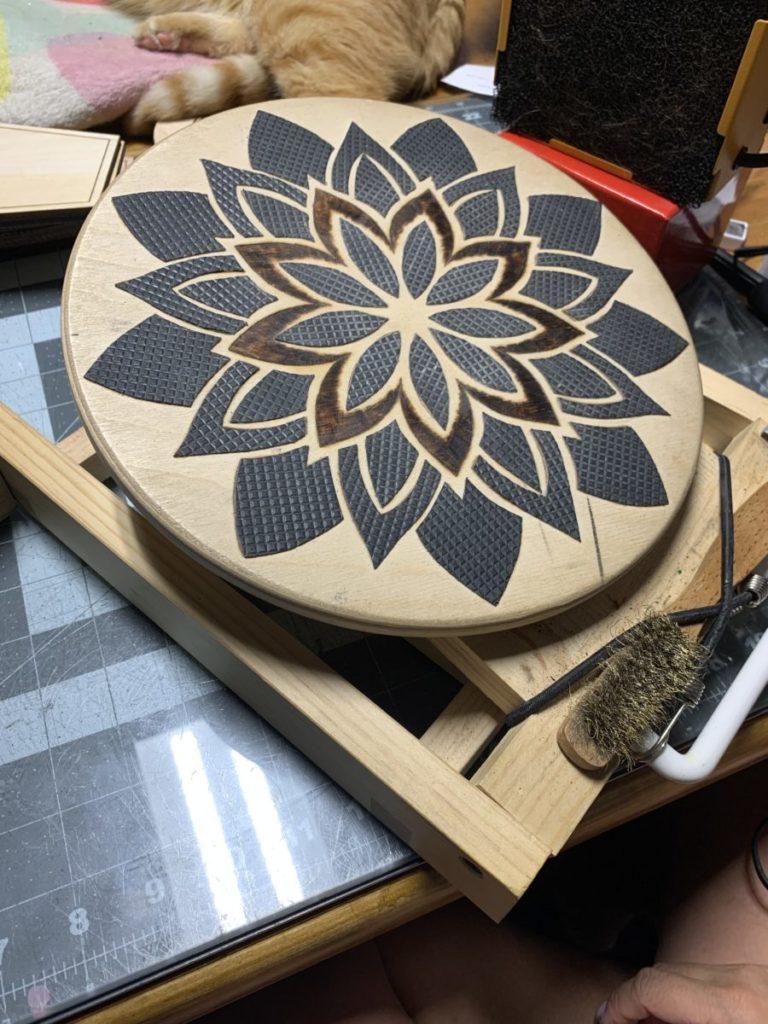
Turntable: I absolutely love this turntable. It makes burning wood like decorating a cake. Doing things such as turning my work and making curved lines is much smoother than working on a fixed surface. It also lessens the chance of scratching the back of the wood. This particular turntable tilts so I can angle it where it is comfortable for what I am doing. Depending on what I am burning I like the versatility of being able to burn flat or on an angle. I also added cat tongue tape so it holds the piece when I have it tilted.
Since I burn on high heat it produces a lot of carbon. This sticks to the nib and it makes it hard to burn evenly so I added a Razertip brass brush to the bottom of my turntable to clean my nibs frequently.
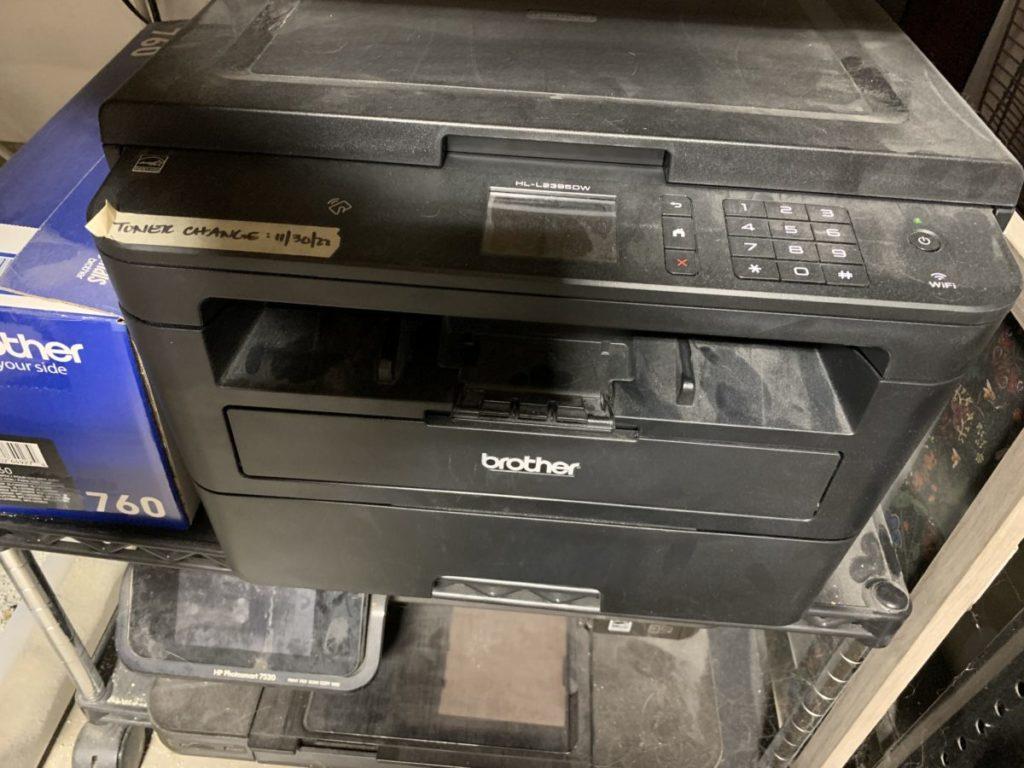
Brother Laser Printer I like to print out my designs on the laser printer and transfer them onto wood. This gives much finer lines than if I trace them using graphite paper making my patterns cleaner and easier to burn. It also saves me a significant amount of time when I am prepping my pieces leaving me more time to do what I love. Burning.
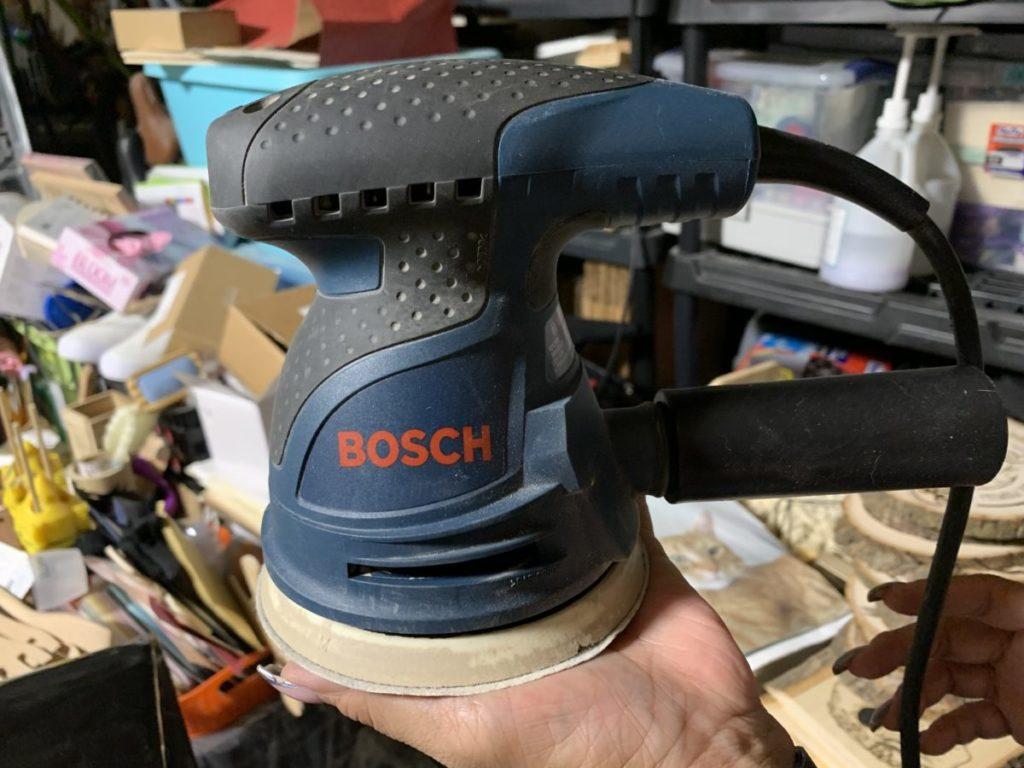
Bosch Orbital Sander Prepping wood and finishing wood is much easier with an orbital versus hand sanding. It takes less time, is far less painful, and gives a more even finish. I like to go down progressively from 120 to 320-grade paper when I prep. Believe me, that is a lot of sanding. I also like to overburn and then go over it again with a 120 to make the lines crisp so we’re looking at as many as four times that I will sand one piece. It’s also nice that I can attach my shop vac to catch the dust.
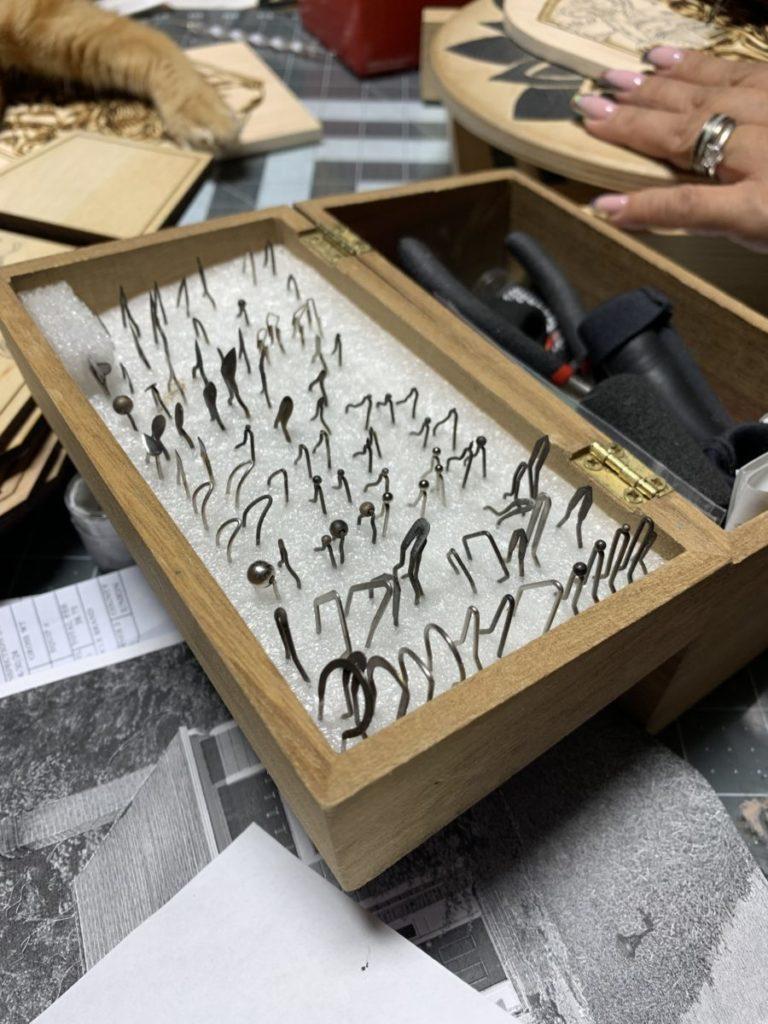
Bonus – The “Nib Crib”: I have a handful of interchangeable nibs. To make my life easier I made the “nib crib” to house all my nibs so I can easily organize them, find them, and keep them in pristine condition. We also bring this with us when we burn on-site so Brian can show off the different nibs to customers when he is describing the different techniques I use.
I hope that these suggestions help you on your pyrography journey. Please share this post and your own tools that you find useful that you discovered over time.
