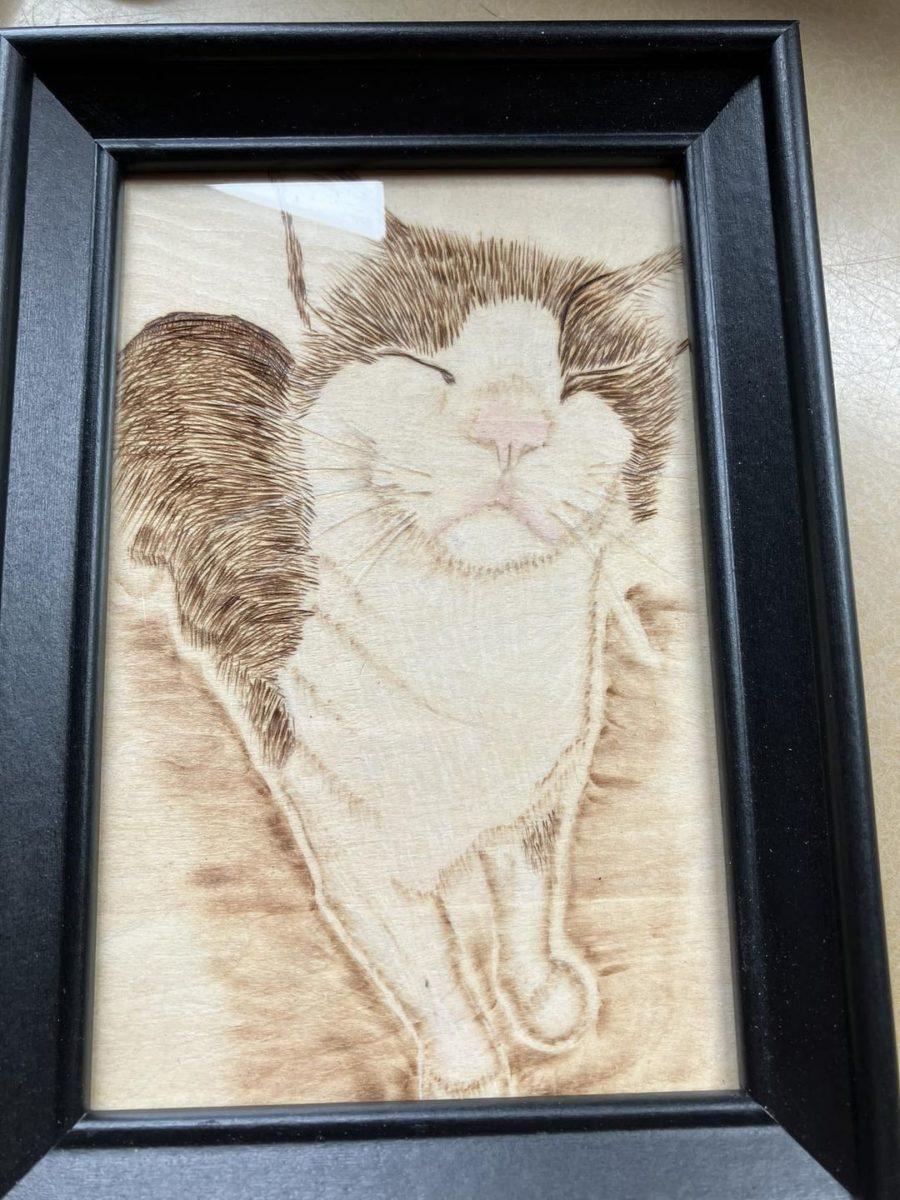
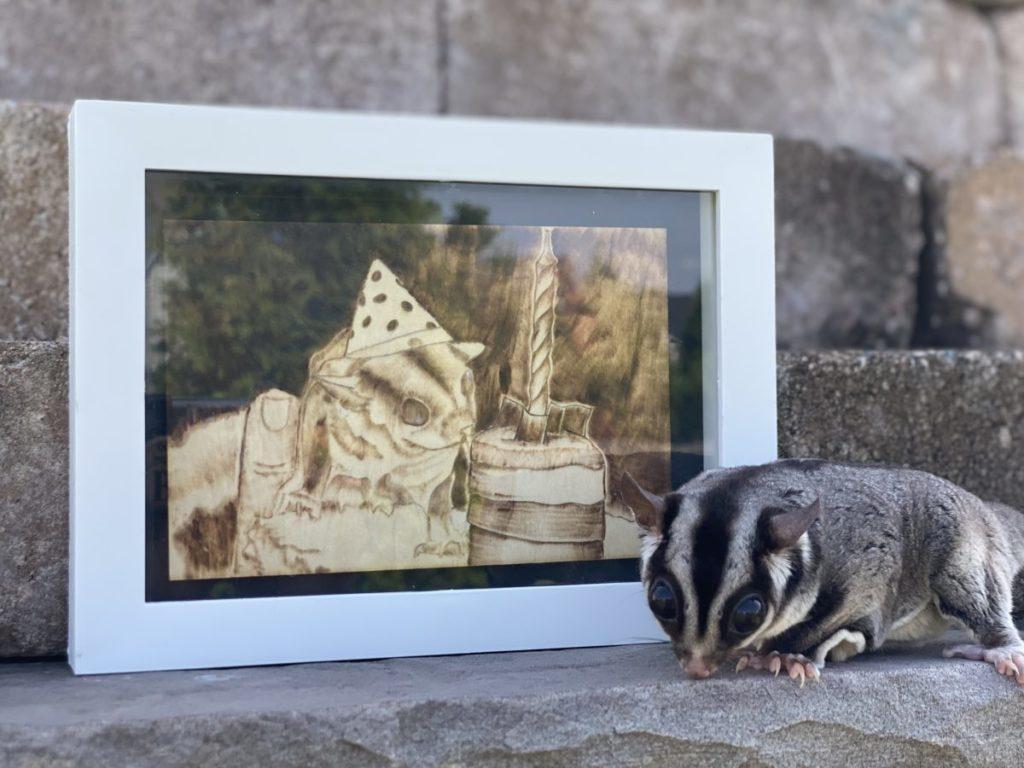
As a pyrographer pet portraits were never my thing. Whenever we did a market I was very apt to tell patrons that I can burn anything except photo-realistic portraits. Today I eat my own words. When a friend lost their beloved cat I was compelled to try my hand at doing my first pet portrait as an homage to the sweet boy. In addition to Max’s portrait, I also decided to do a piece for Wood Burn Corner’s Spring Burnt Week featuring another furry critter: a Sugar Glider.
It is important to remember to always challenge yourself to try new things. Taking on a style or medium you have not worked with before can seem rather daunting but it can also be exciting and rewarding as well. Look for guidance from other artists you have seen who have mastered what you are trying to learn. Ask questions and seek answers on social media and forums. People are often excited to share their knowledge and expertise.
A few tips for making your first pet portrait
- Have multiple, good, clear pictures of the pet. This will provide you more angles giving you a better idea of the layers of fur and the shading. One picture may be missing key information. You may get your lines for the critter’s face from one and the paws from another. The more pictures and angles you have the better.
- Consider what you want the picture to be. The picture should mean something to the subject’s owner. Maybe it reminds them of a time when their pet made them particularly happy or proud.
- Think about the composition of the picture you are using. Is the pet the subject of the picture? This is a pet portrait so the focus should be on the subject. Are there other details in the picture that draw your eye away from the subject?
Techniques for a better burn
There are a lot of techniques that will help you to make the best pet portraits and this is, by no means, a comprehensive list. These are a few techniques that I found useful starting out with pet portraits.
- Fur is typically not a bunch of straight lines in one direction. Fur is more of an organized chaos. I use the end of a skew to create fur with many, short strokes. You can also use a knife or sharp edge.
- Use variation. Observe the direction of the hair in the picture and try to replicate it. If the direction of the fur is not clear in the picture you are using pick a different picture as your source for the fur. Ask the owner for more pictures if the ones you have don’t suffice. Most pet owners are more than happy to share pictures of their furry friends.
- Spend a lot of time looking at the picture before you start the burn. There are a lot of subtle details in the texture, the shading, and the colors that may not be immediately evident. By spending time looking at the picture you will immediately recognize these details.
- Work on shading. Test the tips and temperatures on scrap wood before using it on the piece. Make sure it is the right value to get the shading you want based on the composition and lighting of your source picture.
- Knowing what to exclude is as important as what to include. If you have certain areas of a picture that you want to highlight it may mean removing non-essential details. This is not a bad thing. Talk to the customer about what they love about the picture (is it their eyes? Maybe their mouth looks to them like they are smiling in this picture). Work on capturing those details above all else.
Don’t give up
Even if your first pet portrait isn’t perfect don’t stop trying. It takes a while to master techniques for photo-realistic portraits and you will never stop learning. If you are doing a pet portrait for the first time post it and tag us @bz_furfur and we’ll make sure to cheer you on in your journey to pet portrait perfection.